IRP: Stunt/Hero Knives
![Left to right: Mold master, Hero prop, stunt prop](https://www.joshuaboudreau.com/wp-content/uploads/2021/08/IMG_20210816_173904.jpg)
![Hero KA-BAR](https://www.joshuaboudreau.com/wp-content/uploads/2021/08/IMG_20210816_173932.jpg)
![IMG_20210816_173940](https://www.joshuaboudreau.com/wp-content/uploads/2021/08/IMG_20210816_173940-scaled.jpg)
![Microtech Combat Troodon](https://www.joshuaboudreau.com/wp-content/uploads/2021/08/IMG_20210816_174000.jpg)
![Detail look](https://www.joshuaboudreau.com/wp-content/uploads/2021/08/IMG_20210816_174011.jpg)
![With blade extended](https://www.joshuaboudreau.com/wp-content/uploads/2021/08/IMG_20210816_174021-scaled.jpg)
![Underside on Microtech](https://www.joshuaboudreau.com/wp-content/uploads/2021/08/IMG_20210816_174033.jpg)
PROJECT WORKBOOK
![Overview of knife specs](https://www.joshuaboudreau.com/wp-content/uploads/2021/08/IRP-workbook-compressed-page-001-768x1086.jpg)
![Crude sketch of how real OTFs work](https://www.joshuaboudreau.com/wp-content/uploads/2021/08/IRP-workbook-compressed-page-002-768x1086.jpg)
![Not a viable option](https://www.joshuaboudreau.com/wp-content/uploads/2021/08/IRP-workbook-compressed-page-003-768x1086.jpg)
![Initial build list](https://www.joshuaboudreau.com/wp-content/uploads/2021/08/IRP-workbook-compressed-page-004-768x1086.jpg)
![Drill down list](https://www.joshuaboudreau.com/wp-content/uploads/2021/08/IRP-workbook-compressed-page-005-768x1086.jpg)
![Meeting with mentor Chris Menges](https://www.joshuaboudreau.com/wp-content/uploads/2021/08/IRP-workbook-compressed-page-006-768x1086.jpg)
![Testing methods](https://www.joshuaboudreau.com/wp-content/uploads/2021/08/IRP-workbook-compressed-page-007-768x1086.jpg)
![Continued testing](https://www.joshuaboudreau.com/wp-content/uploads/2021/08/IRP-workbook-compressed-page-008-768x1086.jpg)
![Mold ideas](https://www.joshuaboudreau.com/wp-content/uploads/2021/08/IRP-workbook-compressed-page-009-768x1086.jpg)
![Resin tests](https://www.joshuaboudreau.com/wp-content/uploads/2021/08/IRP-workbook-compressed-page-010-768x1086.jpg)
![Microtech OTF notes](https://www.joshuaboudreau.com/wp-content/uploads/2021/08/IRP-workbook-compressed-page-011-768x1086.jpg)
BUILD SCEHDULE
With this schedule I did not take into account the potential challenges of 3D modeling a complex knife mechanism like in the Microtech OTF knife. I finished the KA-BAR in about 2 days then spent another 8 working out the mechanism for making a functional switchblade style knife that is 3D printable. So above is the original timeline I imagined for the build then followed by the updated timeline edited down to just essentials I needed for the build and my time logged on each part in it.
BUDGET
Above is my final budget for the project. Unfortunately I came just $0.34 above the $250 purchase budget. However I am planning on returning or exchanging the knife sheath I bought. Which will result in the budget dropping below the maximum amount.
MENTOR - CHRIS MENGES
My mentor for the project was Chris Menges. He is a swordsmith at Weta workshops who I also knew from local fight classes and his partner who taught molding and casting to us as first years. He is extremely knowledgeable in how to make both real and prop swords/knives. He is also talented in model making and the different areas of prop construction.
We had multiple correspondence via email and at combat classes before meeting up for coffee to discuss in person my project. He was a treasure trove of knowledge in the art of knife making. He explained how they would make it at Weta, versus how you would make it for real, and every other method of construction.Â
3D MODELING
KA-BAR 2221 MARK 1
Being a fixed blade knife the KA-BAR was the easiest to model with the fewest iterations between the two. I started like I do with all 3D modeling projects and create separate component files to keep the parts organized. With everything laid out I can import a canvas to start sketching the general shape off of to start creating parts. From there it is lots of tweaking and going back to reference material to make sure my model is coming out to correct scale compared to the real world knife. After it was all modeled I separated the parts to make it easier to 3D print and away I went at constructing the knife.
MICROTECH COMBAT TRODOON
The Microtech was between the two different knives the hardest in the end to 3D model accurately. I followed the same steps as I always do of breaking down the product into components to model separately. Afterwards I attacked the general modeling of all the parts exterior looks before I would focus on the interior mechanism I had planned for this prop to function.
The main limit I came to in my knowledge of 3D modeling was creating the compound/complex curves on the outside of the knife handle connecting the top to slope into the sides. This was either a process I did not know how to do or a limit of Fusion 360 solid modeling capabilities. Both are entirely possible. So my end solution would be to print them without the slope and build it up afterwards with filler. Which I would sand back along with the rest of the print to smooth out and reveal the final shape.
Making the mechanism inside keep me up at night more then once and was the part I struggled with the most on this build. I found 3D files on thingiverse.com that other people had created with working mechanisms that were 3D printable so I decided to use those as a starting place instead of trying to reinvent the wheel. This eventually lead to me unable to tweak the design and instead simply placing the already 3D modeled body inside the one I made for the mechanism to still work with the same tolerances.
This thankfully worked flawlessly and allowed me to let out a large sigh of relief to move on to finishing the knife for molding/casting.
TESTING
3D PRINTING
FAILS
I’ve been 3D printing things for myself and costumes for years however that does not save me from print fails. No matter how long you’ve been using 3D printers you will still at some point encounter warping, parts delaminating from the bed and so on. Above as a few pictures from some fails I had on this project. For some success however I would keep scrolling.
SUCCESSFUL PRINTS
Between some of the failed prints I got some very successful tests and final prints. I did most of my printing on the school’s Ultimaker 2 Extended. A fantastic printer for quality and details. Some of my testing was done on one of the school’s Wanhao i3 Plus machines which is not as great at detail but gets the job done for testing purposes.
SILICONE
OLD SILICONE
My first test of silicone we had in our department was a large batch we had donated to us the end of last year that had expired almost 5 years prior. This led to experiences shared by many of my classmates of it not curing properly or at all, and no matter what containing copious amounts of air bubbles, then tearing very easily.
I also believe that this is in part to the silicone being not intended to use for 1 or 2 part molds and of course it being extremely past its shelf life. In the end none of my classmates could get it to work as cleanly as we would like so I ended up going with another solution.
PLATSIL 71-10 SILICONE
“Hiding” away in our hazards cupboard was some Platsil 71-10 that as it turned out no one knew was even there. It was never opened and technically expired in October of 2020. However this silicone held up as if it was still new and performed flawlessly for all my molds for this project.
It a 1:10 platinum cure silicone that had next to no shrinkage and held up for multiple castings even though it was technically expired.
I went on to use this for both knives creating 2 part and slash molds for all the parts.
KA-BAR 2111 MARK 1
3D PRINT
I started my way through the build of the KA-BAR knife post 3D modeling with my next step 3D printing. It went through 2 slicing variations before ending on this version. (right) It is held together with flat connection pins between the blade to handle and butt of the knife to the handle. It was printed at 0.1mm layer heights on most of the knife except the lower blade lettering which was printed at 0.06mm layer heights on the Ultimaker Extended 2. I was very happy with how it came out and how little passes of sanding and primer it required.
PREPPING MOLD MASTER
For prepping the mold master it took a few layers of sanding then priming working my way up the grits. Once the handle was smooth I sprayed Super 77 spray adhesive on it to create the grip texture. Once dried to the tough I could spray a clear coat on top to seal it in. I then super glued the knife parts together and continued sanding and filling some areas that needed to be joined. Until it was ready to be molded.
MOLD
I knew it would be easiest to make a two part mold of the KA-BAR because it was a fixed blade which would work with a seam line down the blade edge. I found a video online of how to make a two part mold by cutting the outline of the prop in foamboard or MDF, placing the prop just above half way through the cut out and lining the edge with clay. I tested this method which did not work in my situation but I would like to try again to make sure it does work.Â
I ended up using the cutout in the mold box anyway to take up more space and not use as much which was still useful. I then sculpted the clay to be at a clean seam line around the knife before adding in registration keys in the clean for the first half of the mold. From there I went about pouring the first half, removing the bottom once the silicone was cured. Then cleaned up the clay off the knife and silicone before pouring the second half of the mold.Â
The last step I had to do was cut in a pour spout which I inevitably forgot to put in during the clay up. This was not too difficult as I just went slowly with a new blade and cut out a large opening connecting to the knife butt pin.
CASTING
FAILS
In the process of casting this knife I ran into a few difficulties. Mostly due to the size I cut the pour spout and way I went about pouring some of the mold.
The pour spout not being large enough for air to get through did result in some knives only being mostly cast before the resin started to coagulate and sealed the mold. Otherwise it was a combination of pouring too quickly and not being a large enough entrance to the mold for air to escape at a steady rate.
I had one bad fail with trying to create a detail layer on the mold to pick up the texture/ letter on the knife. The problem occurred when the resin started to kick too quickly (or mixing too long) before coating the mold. This caused the resin to coagulated and create a large a large mess in the open mold which I had to wait till it was cured before moving forward.
SUCCESSES
Despite the few fails I did end up having a few successes. One of which happened to be the first pour I did in the mold of course. I did not try cold casting in the mold yet, but instead mixed graphite powder in the ProCast to darken the color.
Otherwise the success was only somewhat immediate. I had two cast come out not entirely together or perfect which resulted in me having to do some rejigging.
One of the casts appeared to be fully cast but half the handle was hollow. So I simply mixed up some more resin and poured it in the handle from an air bubble opening in the back. I then clamped it in a vice to stand it up straight so resin would flow out on the table.
The other knife did not cast the entire way through the mold. So I sanded down the rough end placed it back into the mold. I sealed it tightly to not allow resin to flow further down the knife and poured more resin in to fill the remaining cavity. It worked perfectly and this knife ended up being the finished hero knife.
FINISHING
For finishing the KA-BAR it was the same as it always is for prop finishing. Sanding, sanding, and you guessed it more sanding. With some primed thrown in to help fill in some small areas. I ended up recoating the handles in Super 77 spray adhesive as the casts had to have some extra clean up along the seams.
Once the hero knife and stunt knife were smoothed out they were ready for paint. Which was very easy. The entire knife is a smooth matte black finish with an exposed blade edge. The real knife would be anodized with a ground blade which is difficult to create on a resin cast with limited time/knowledge. I however believe I achieved a finished prop that would read as a real knife on camera and during movement in a fight scene.
Â
MICROTECH COMBAT TRODOON
3D PRINT
This knife really showed me the extent prototyping can take between all the possible tweaks. I went through nearly 10 printed versions of this knife before finally getting the model to function in the real world.
Before 3D printing even started I had split the model into separate components that followed the separate parts the real knife would be made up of. In the end this knife had 11 separate parts to be printed for it to be complete.
The extra step I took in splitting the model was slicing the handle sides so everything would print with a flat base. This lead to less clean up for the detail areas, but some seam clean up when the parts were attached together.
PREPPING MOLD MASTER
Once all the final versions of the model were printed it was time to prep them for molding.
This started with simple clean up of all the print brims on the parts and sanding on exterior with 120 grit or up. For the very exterior parts of the handle, they also got treated with some ADOS builders fill to connect the extruded areas to the edge of the part. Which like everything else was sanded down starting at 120 and working my way up.
Between each pass of sanding on the parts they were sprayed with a primer to help fill small areas and help show areas that need more TLC. The blade specifically needed some extra help on the underside to make smooth. Because of the way it was printed it was held by supports and came out pretty rough.
I attached this part like I did with some areas of the KA-BAR with a super glue and talc mix to help fill in the areas and smooth it out. It then got the same treatment as the other parts, swapping between passes of primer, and more sanding.
Once the parts were smooth I super glued the handle sides respectively together and drilled out the screw holes in them for fake screw head later on.
MOLDING PARTS
HANDLE SIDES
For molding all the parts of this OTF knife I decided the best method would be slash molds. Since some of the parts had some complex structures and I did not want/have the time to clay up all the parts I went for slash molds.
They ended up working flawlessly for the parts and I’m so happy they also all worked first time for every piece. Every part before being molded was set up with some sort of standoff to act as a pour spout and a mold box around it. When opening the mold I made sure to use a new knife blade and go slowly. Making lots of small cuts alternating angles and directions. The last thing I wanted was to rush cutting them open and ruin a mold or the master inside.
SMALL PARTS
The only mold that did not end up being a slash mold was the button. It was a tiny 2 part mold in order to get the cavity for it to connect the slider on assembly.
When it came to the belt clip I got to try a mold box to waste less silicone in mold. So I used the flat back of the clip as the pour spout opening and then created a box to fit around it. The main detail was another layer of plywood filling some of the area in the offset “inside” of the belt clip.
CASTING
FAILS
For the most part I had successes on every part. The only fails in casting I had were on the glass breaker and belt clip. Both were the first attempts at casting and unfortunately I do not have pictures of them to show. (Yet, thanks lockdown) The reason they counted as fails in because of large air bubbles or spaces not filled it resulting in an incomplete cast.
SUCCESSES
As I said earlier nearly every part had a perfect cast every time. When it came time to cast all these parts as well I had practice cold casting with the KA-BAR and felt it was best to use it on every part at least as a base if I’m going to paint them later.
Each part came out nice and shiny, looking like a nice metal cast. I was extremely proud of myself with these molds and how well they turn out casts with little issue.
FINISHING
The main bit of finishing I had was on the blades which were 3D printed due to the complexity I did not know how to mold them successfully. They were mostly done at the same time as the mold master so they were ready to paint immediately.
The casts all needed some form of light to medium sand either around the seam area or at the pour spout. Before painting the handles I took them to the drill press and drilled out the cast screw heads. I printed proper Microtech proprietary looking screwheads to go on the handles after an epiphany of how to print them with enough quality. They screwhead were painted with the same Aluminum spray paint as the blade, belt clip, button, and glass breaker. While the handle side were painted with a matte black.
The knife does have a working mechanism like a real OTF knife. (I will have a video as soon as I have access to Toi Whakaari)
REFLECTION
I think the best place to start in reflecting back is with the question. What would I do differently if I had to start over?
For me I think I would have benefitted from really taking more time in the proposal phase of the project to really think of all the steps and items. There ended up being a number of steps I did not take due to either not needing to test or lack of time management. There were also a number of items I did not think to put on my budget at the beginning I could have benefitted from thinking more of at the start.
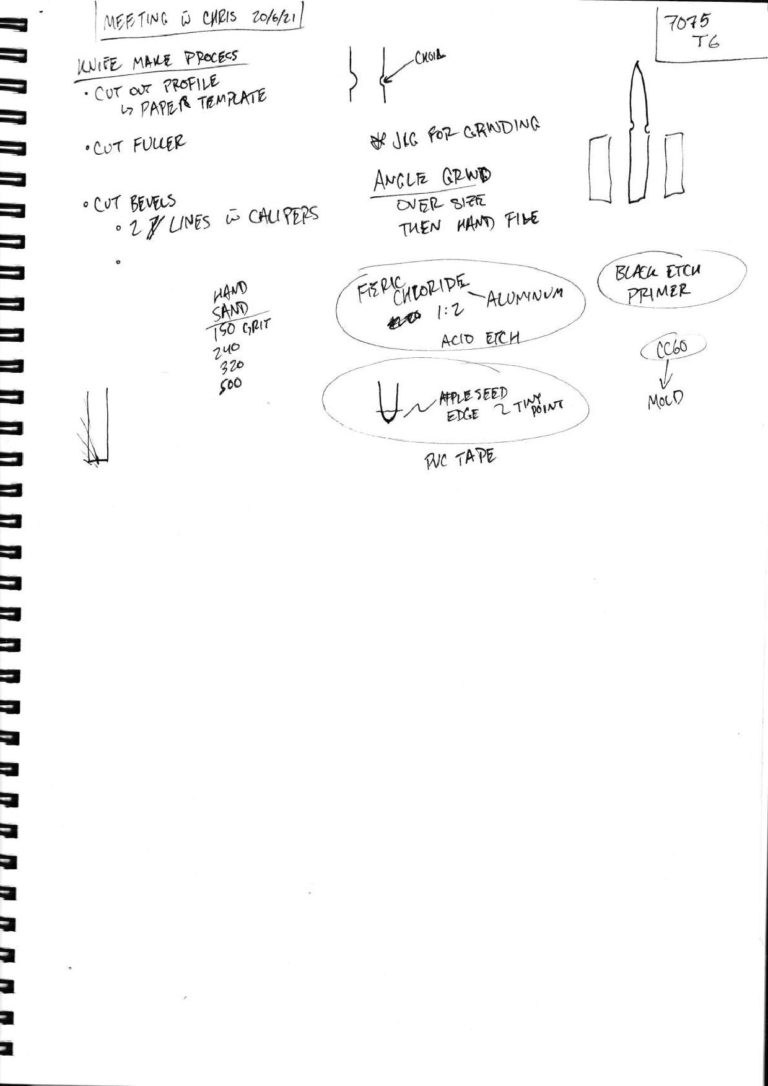
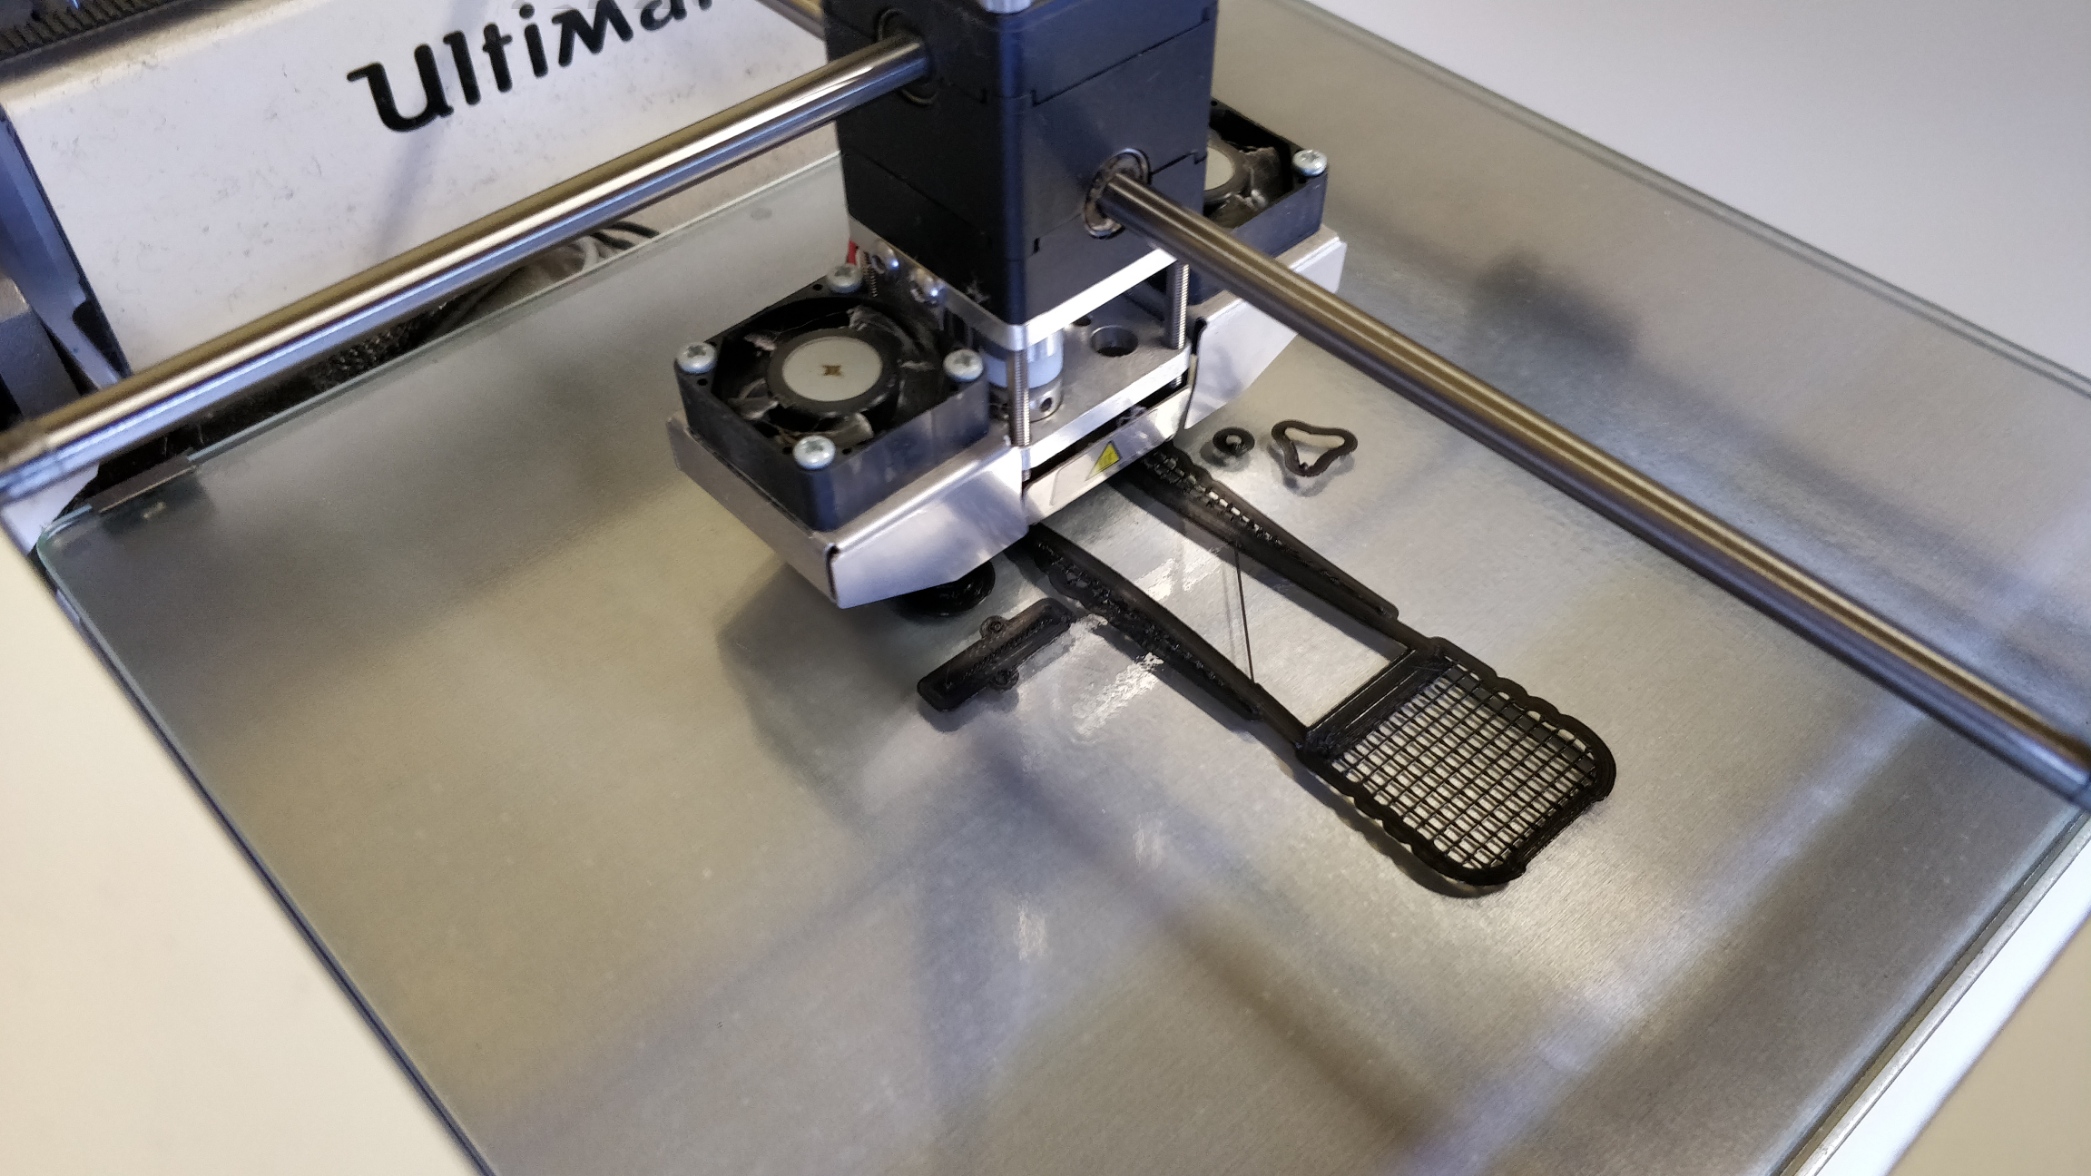
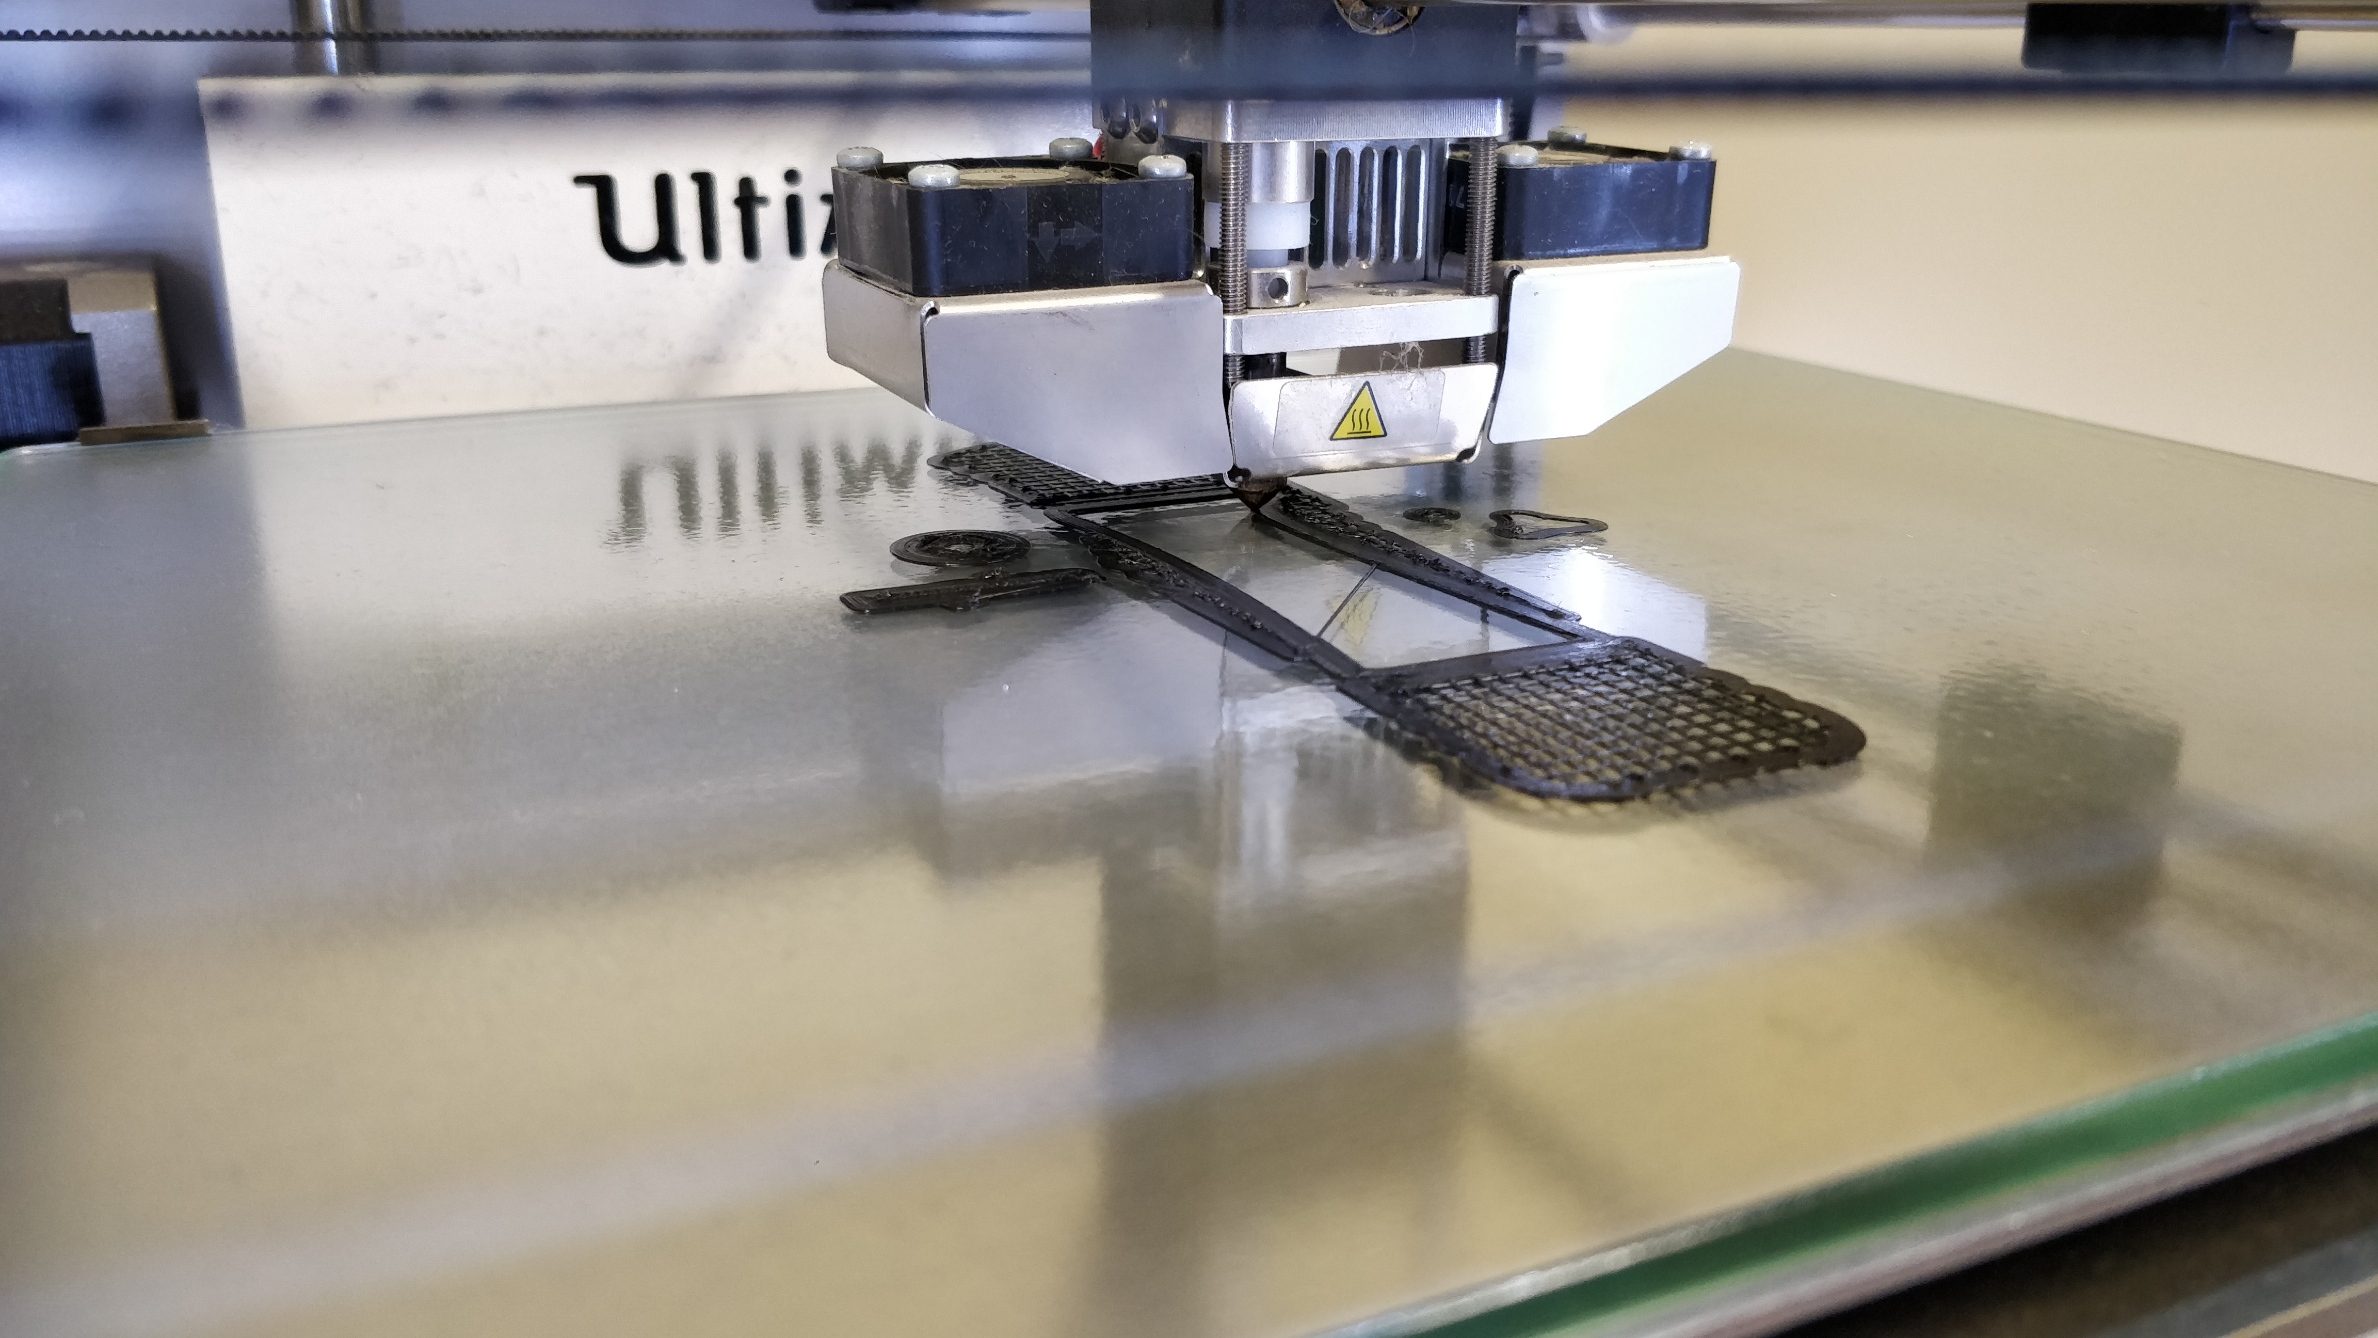
I believe another thing that if I could have done differently would have been possibly a mentor in 3D modeling either as well or instead. Since I ended up spending much more time on Fusion 360 then I had planned I think it could have been beneficial to have someone to call for more specific advice.
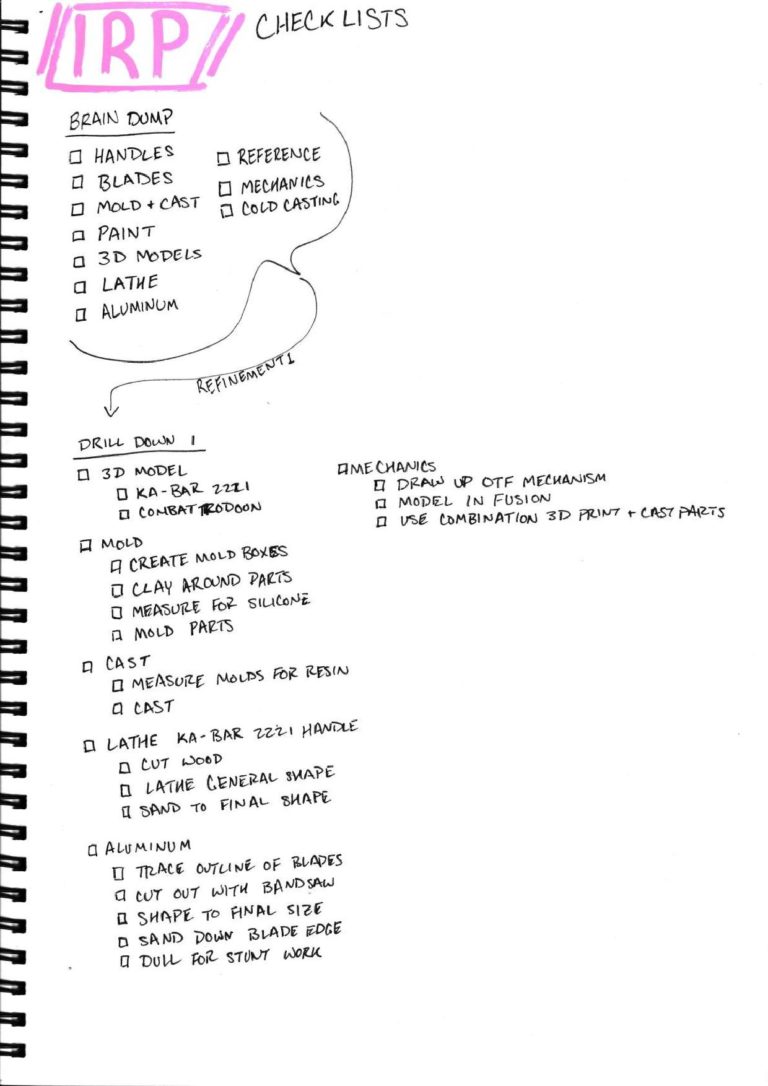
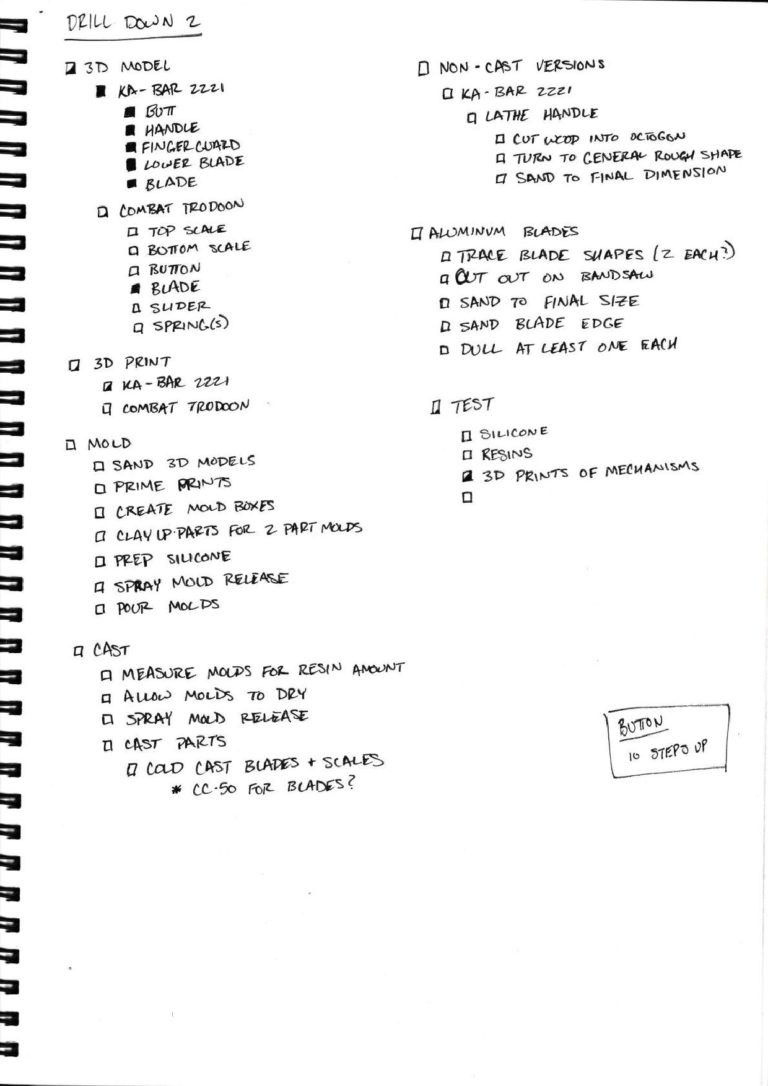
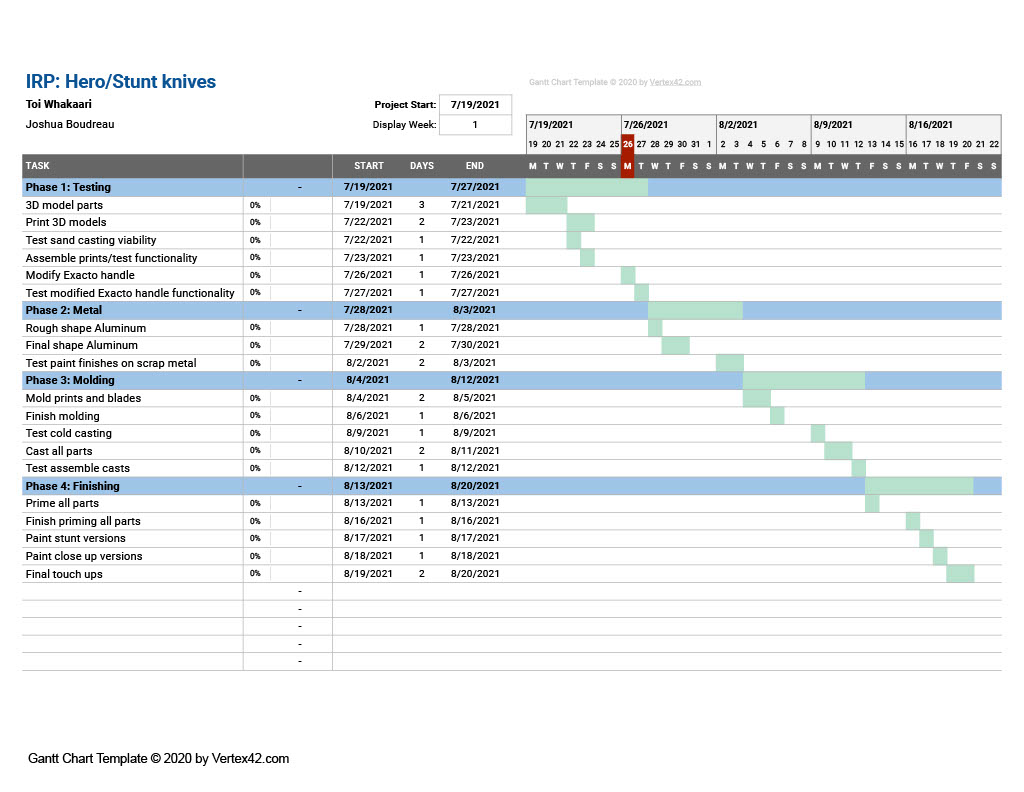
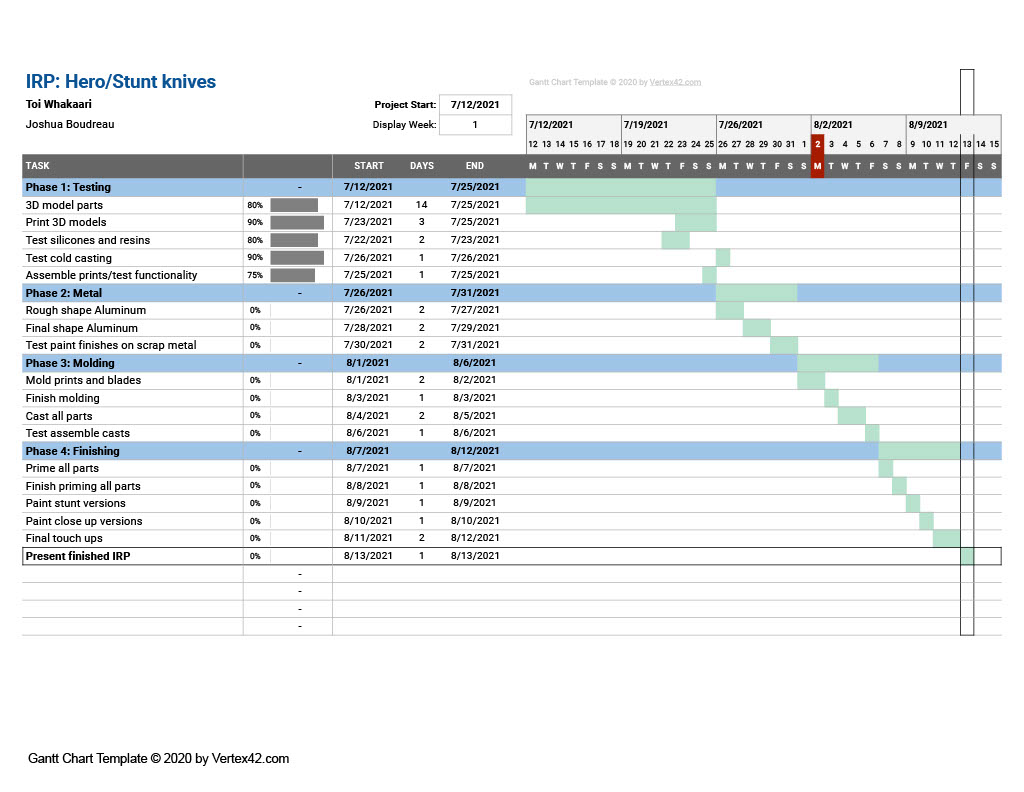
For me in personal projects I have always found at certain times I can struggle with time management. This is something I believe I am getting closer to a solution in the ways I organize in lists and now Gantt charts from this project. One of my classmates lent me a book to read earlier in the year by Adam Savage, ‘Every tool is a Hammer’, and from it I really took on Savage’s method of using lists to organize a project. At the same time in this project I tried to take on a method of organizing each day from a video by Peter McKinnon. He shared a way of listing 5 to 8 daily goals that you aim to achieve and create a habit from. Despite these methods being taken on I think my overall timeline could have benefited from being more drilled down in the beginning to list out more specific daily goals versus full day blocks.
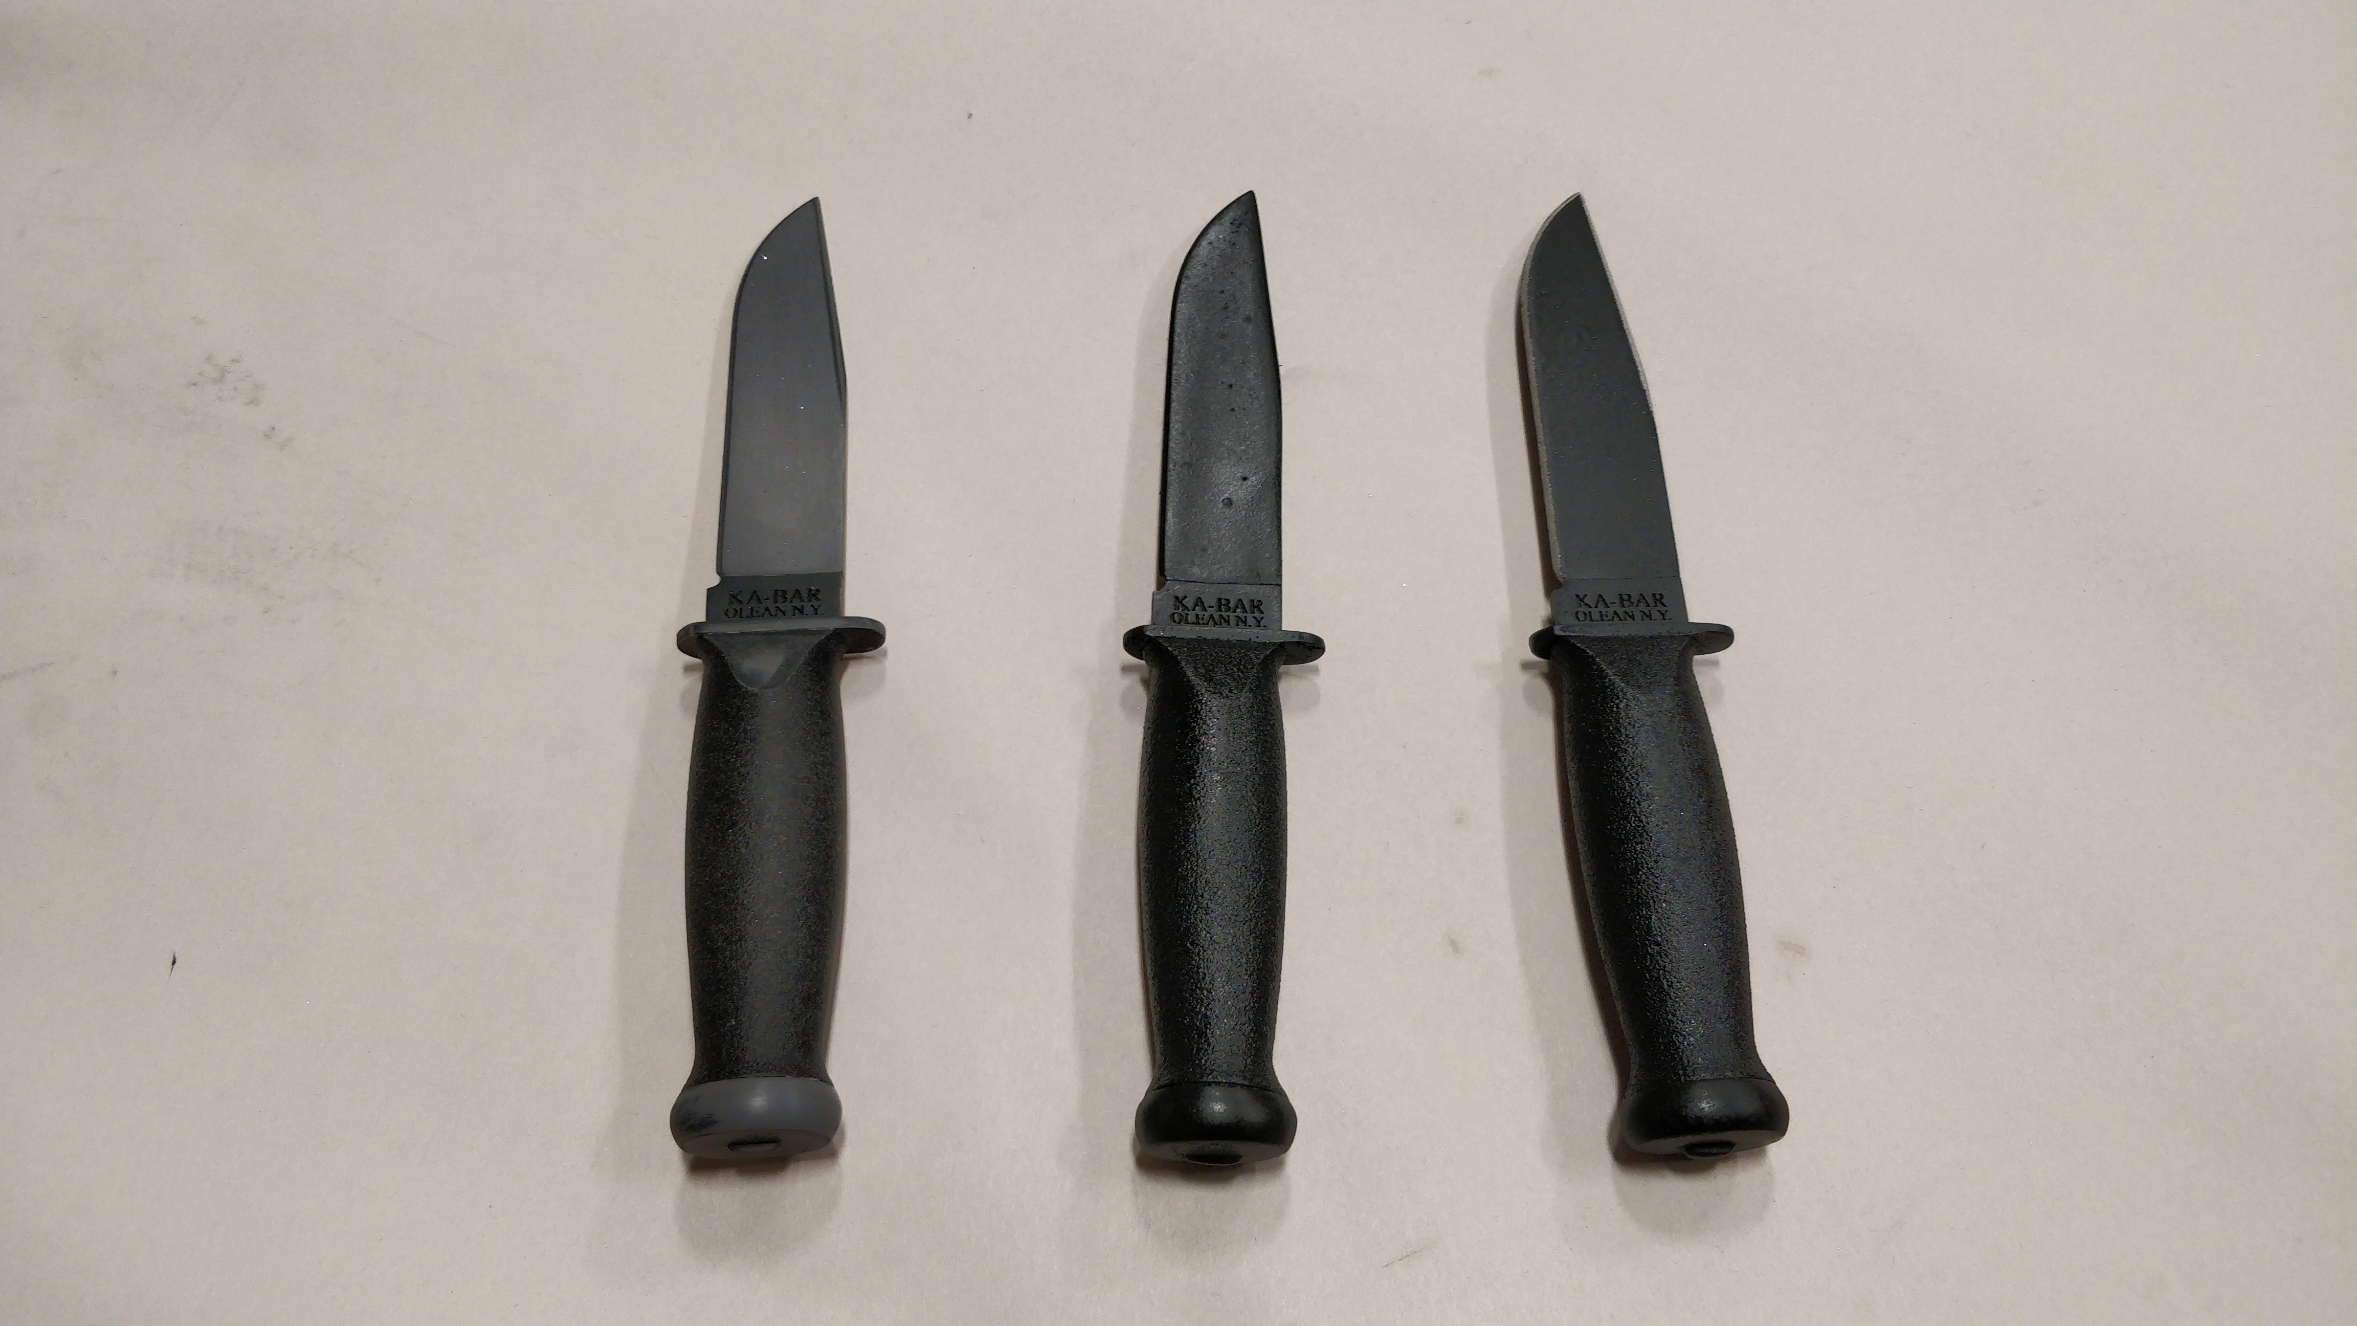
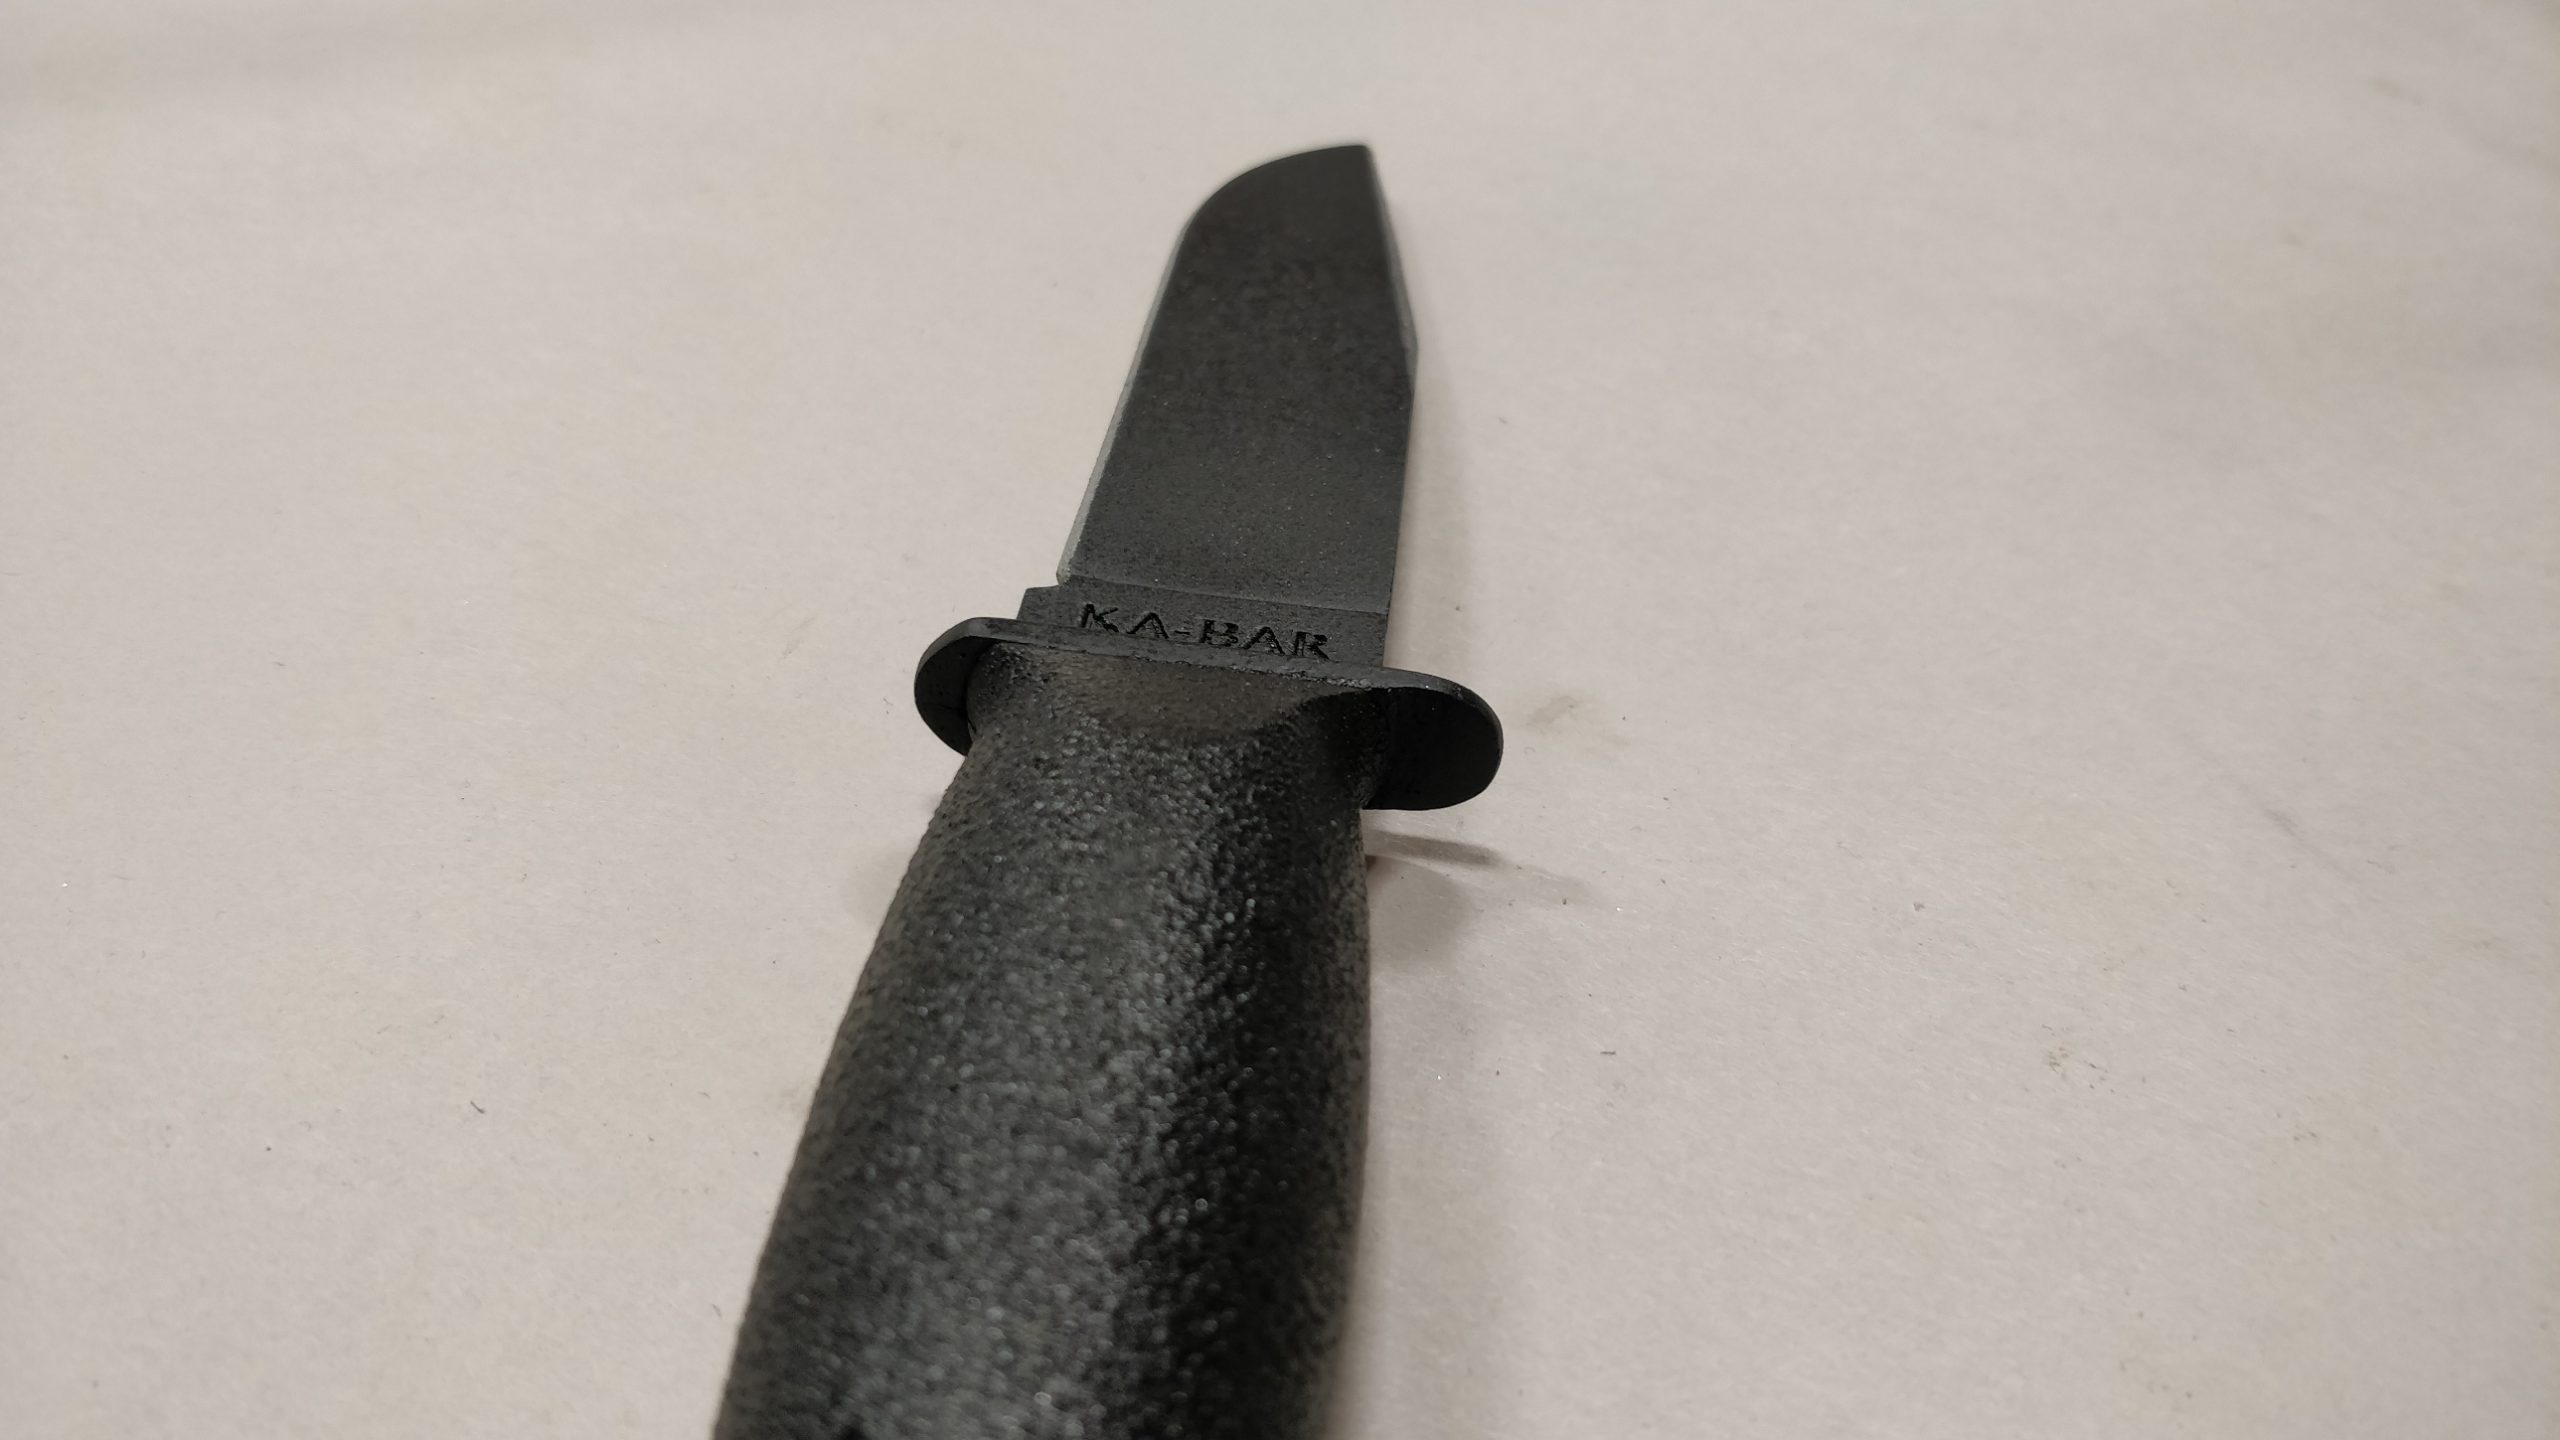
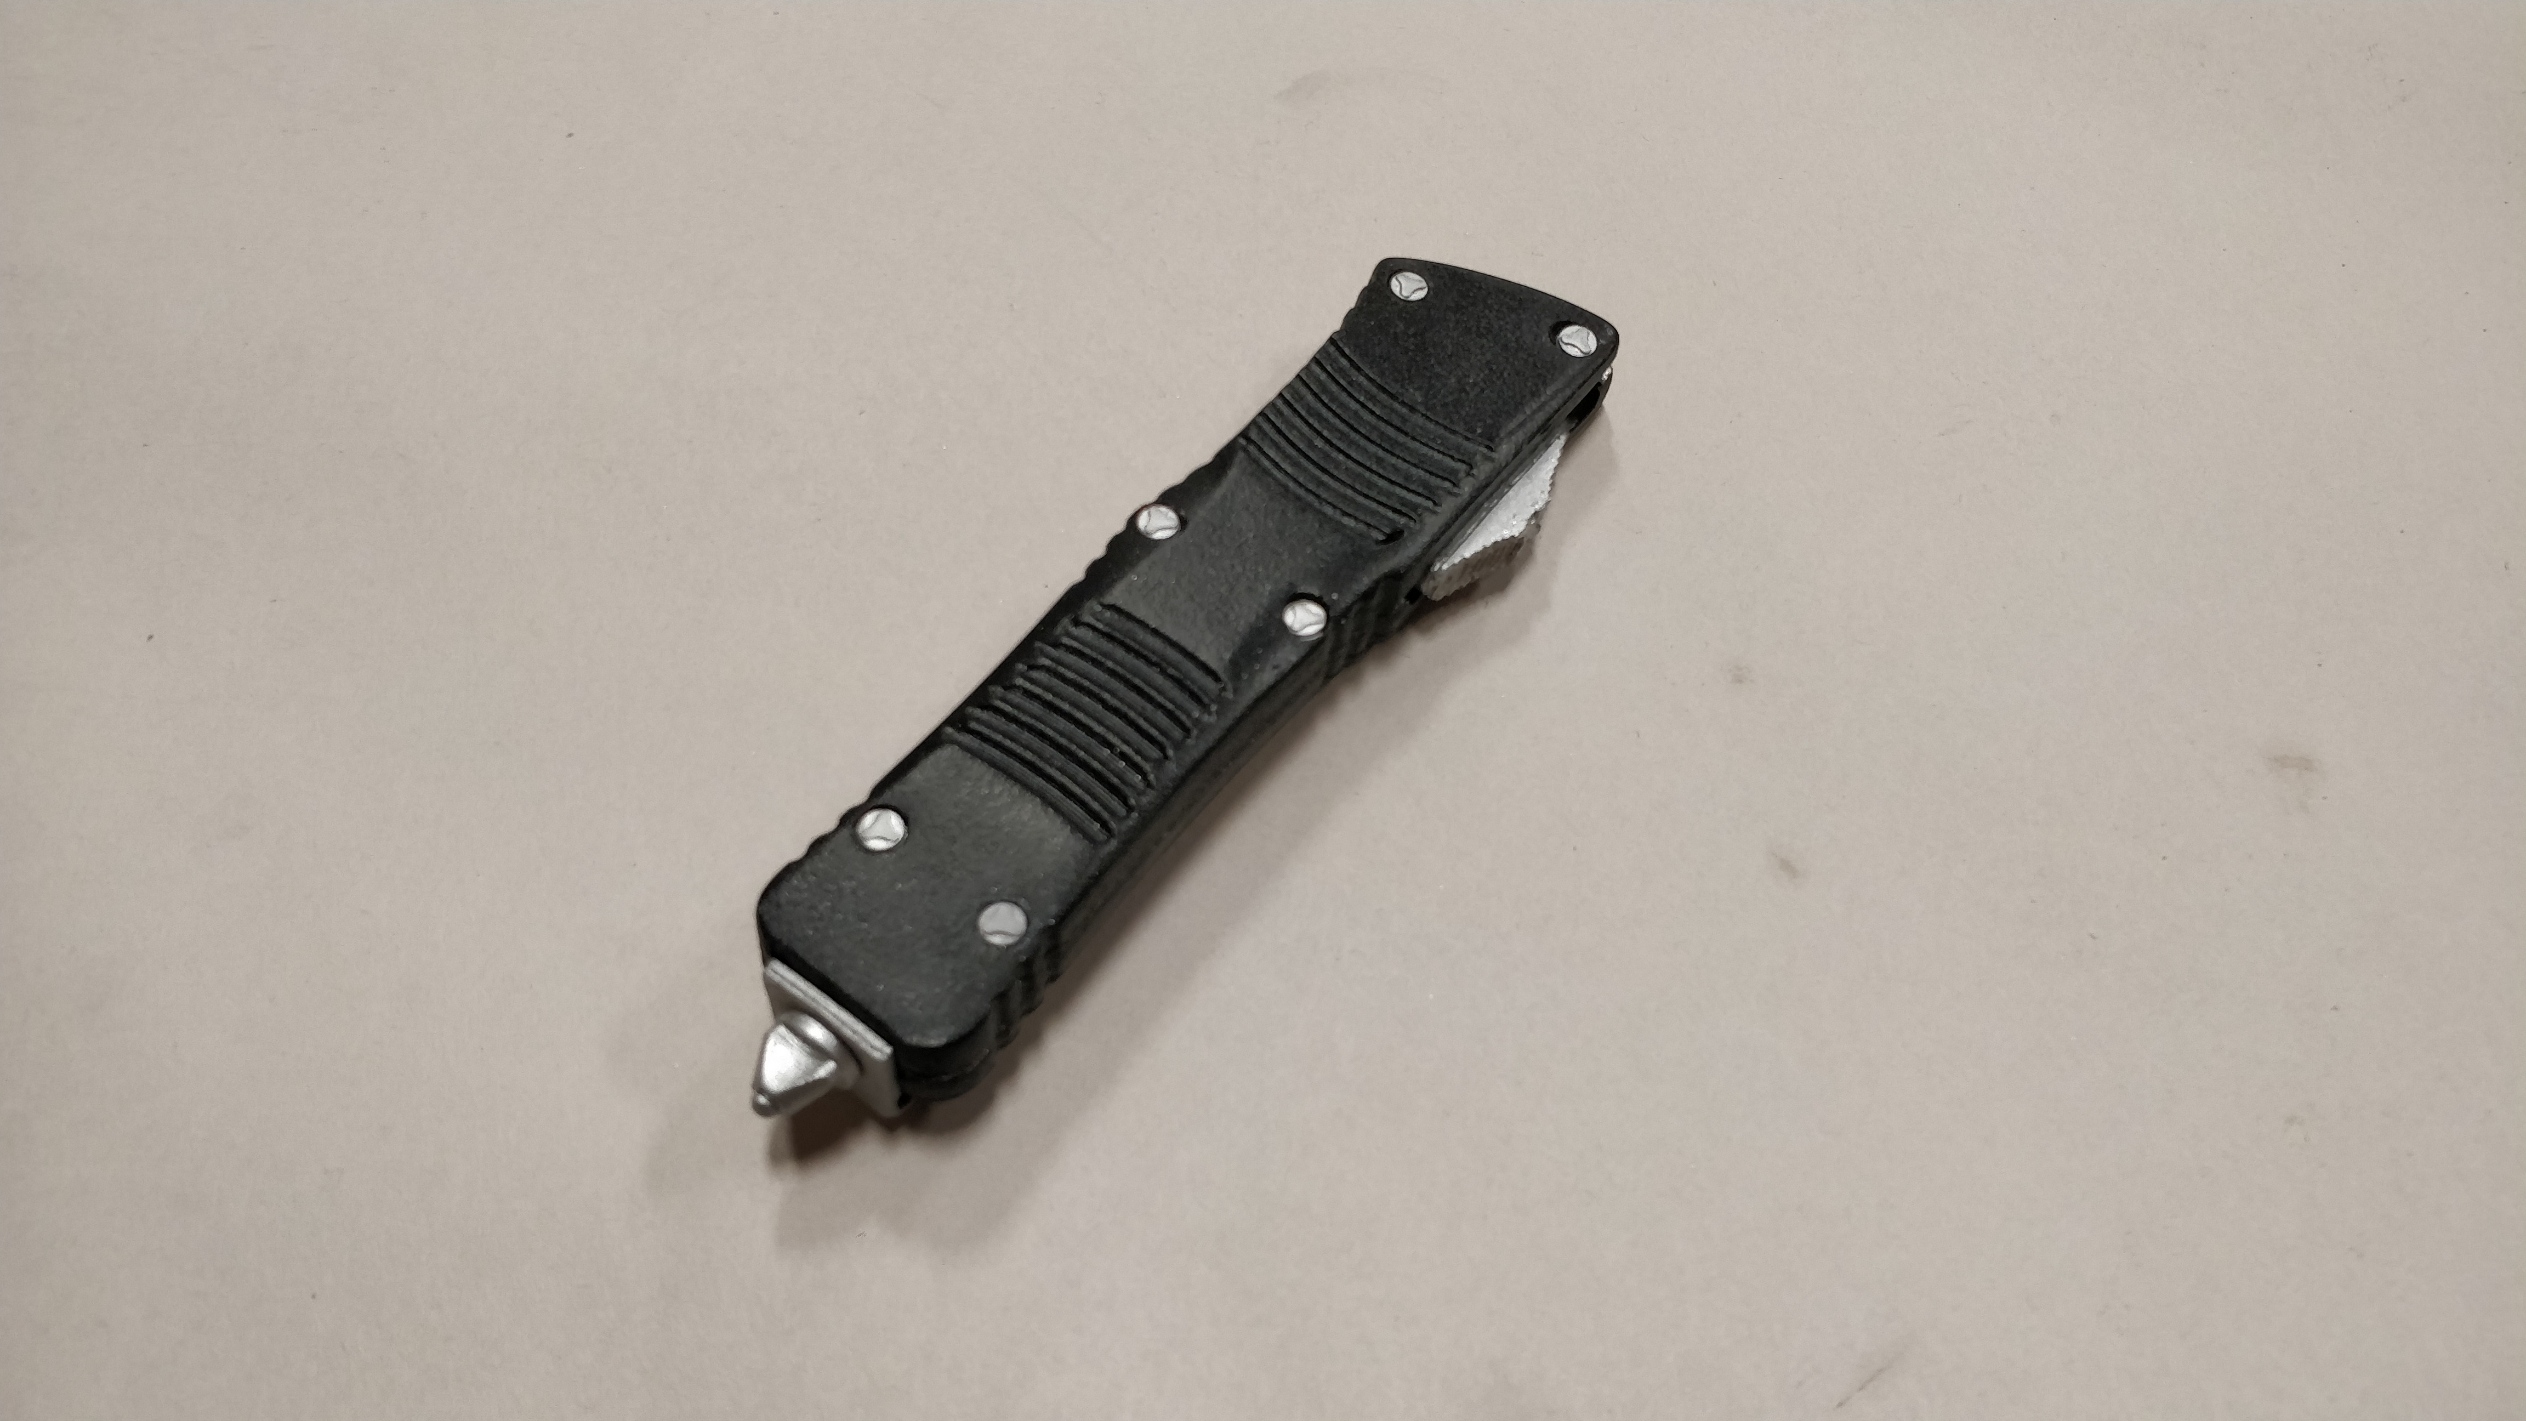
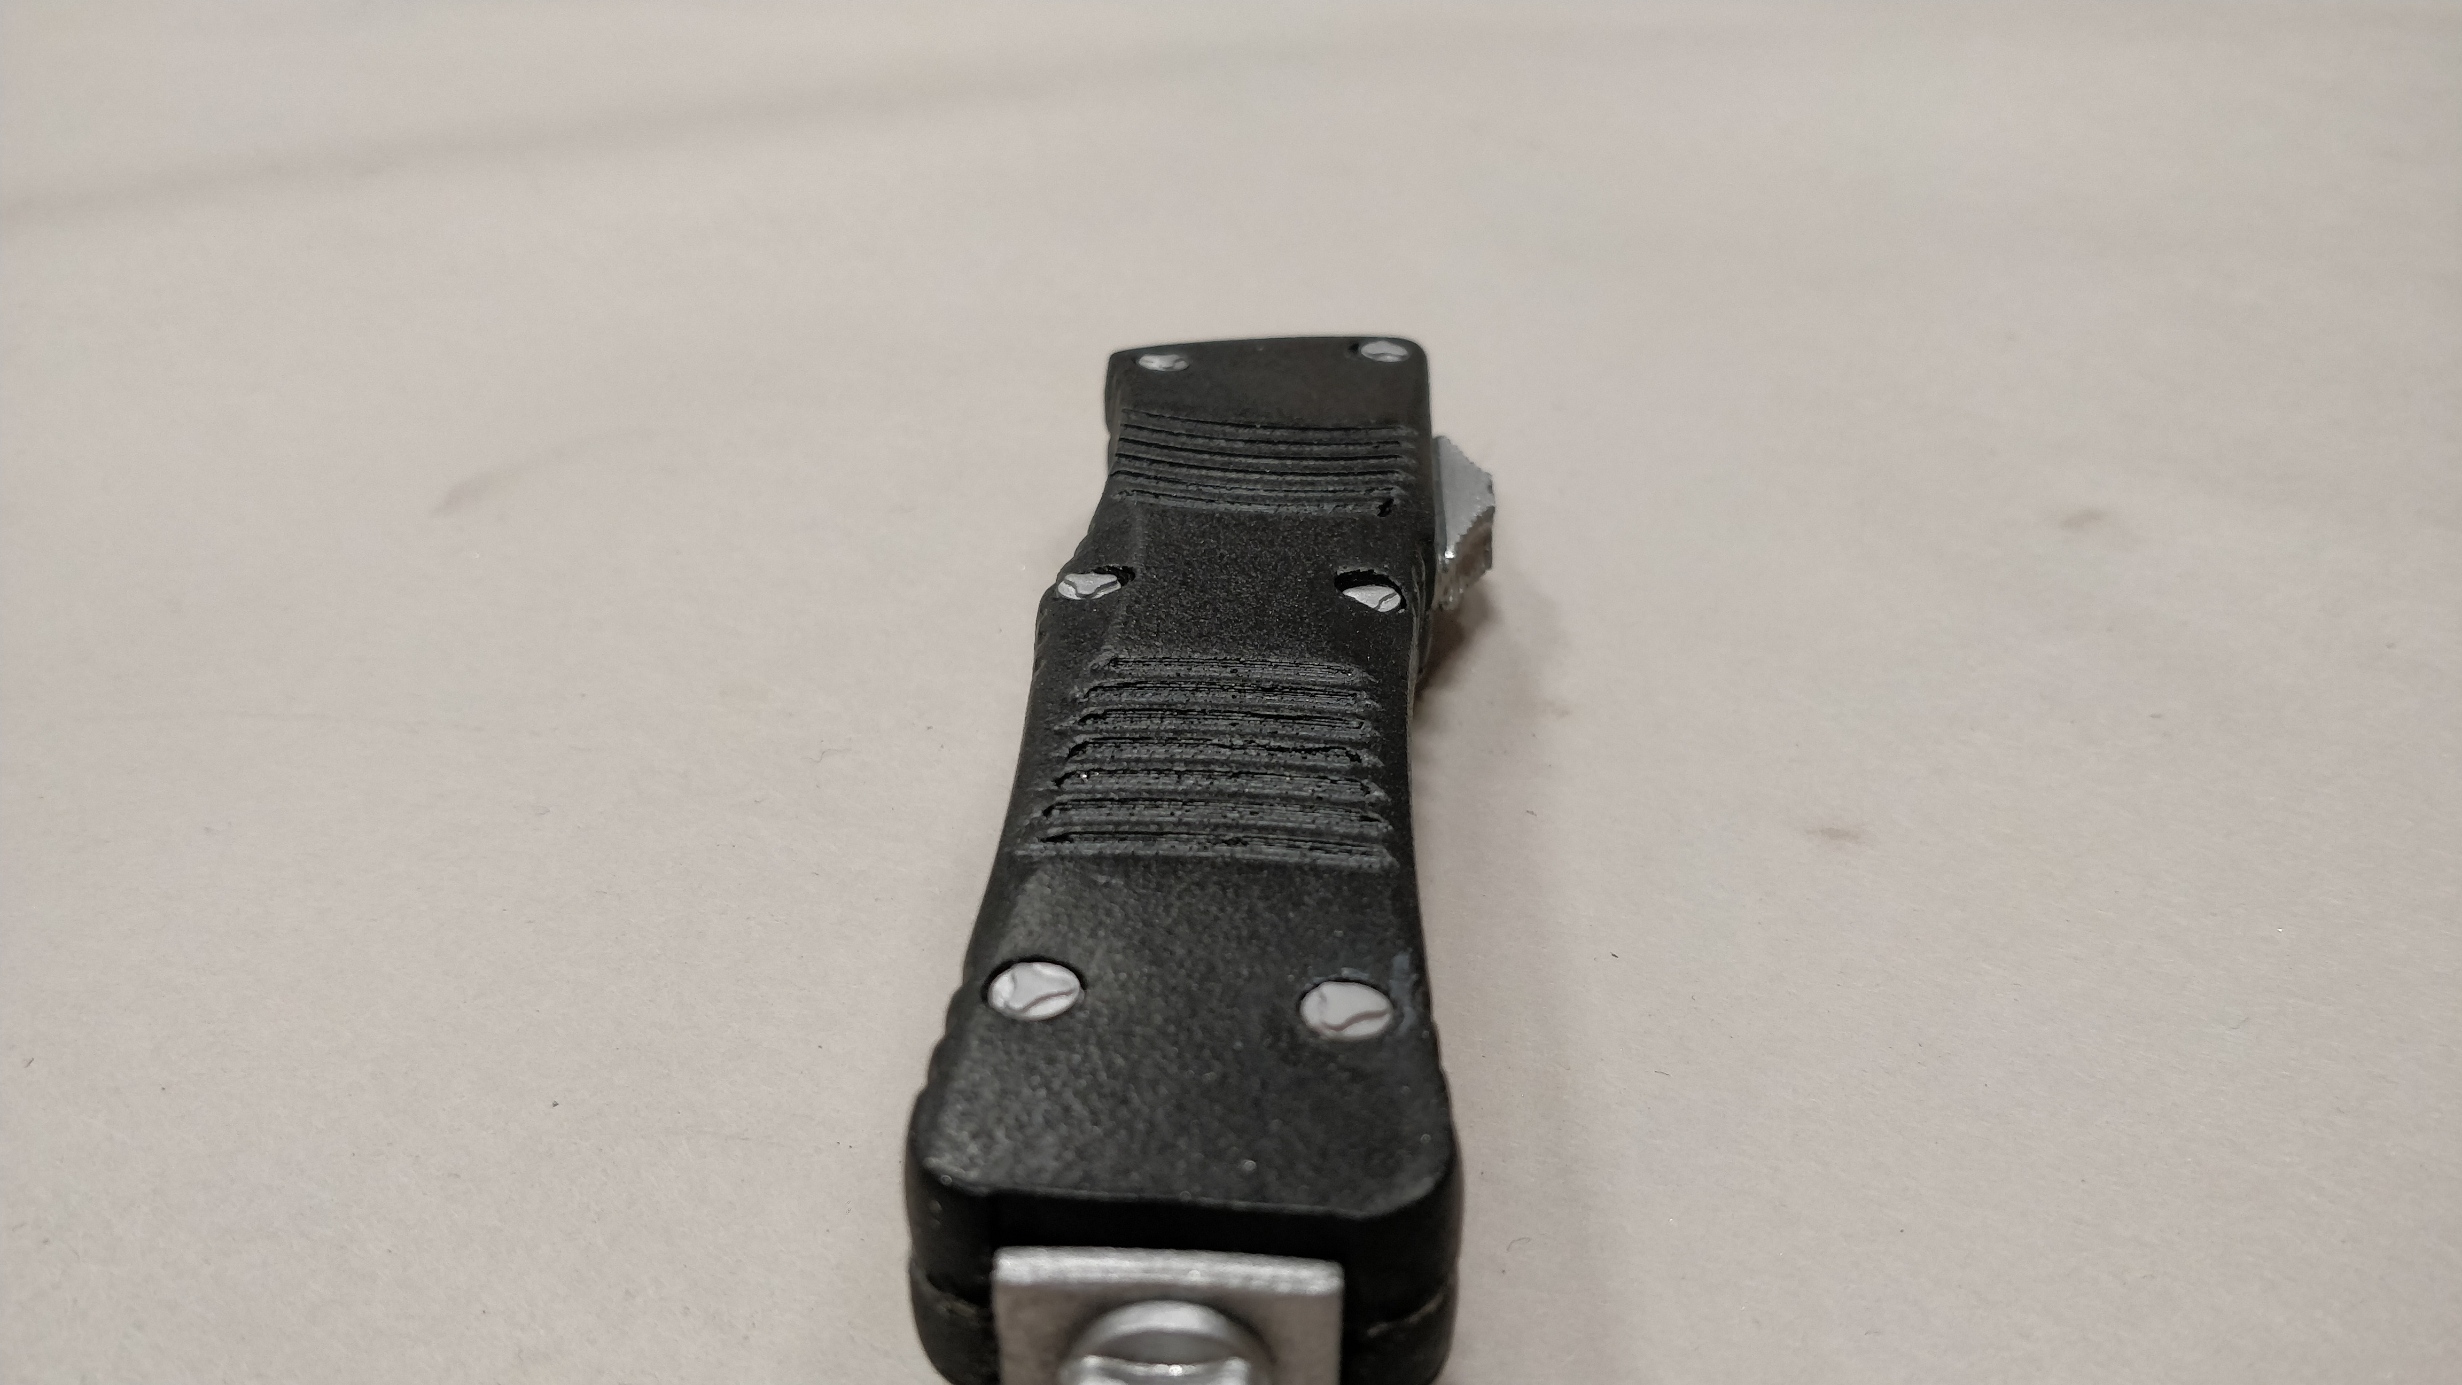
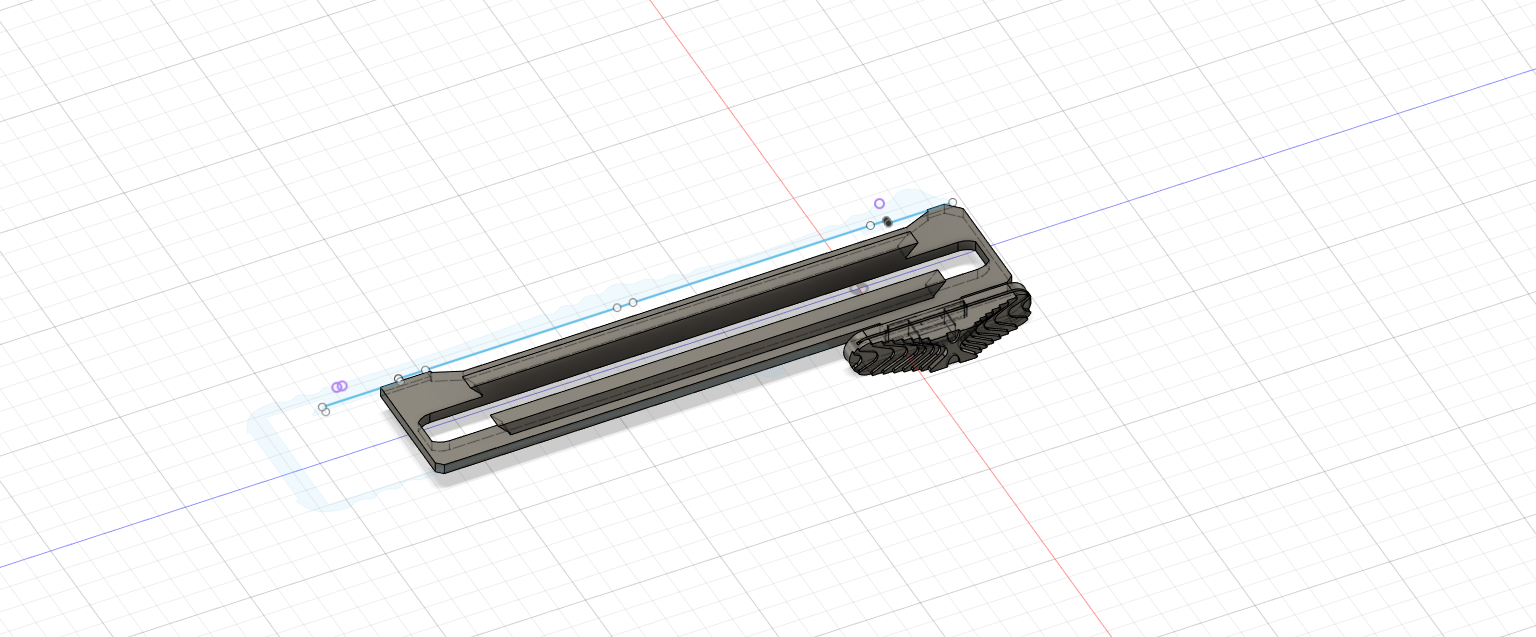
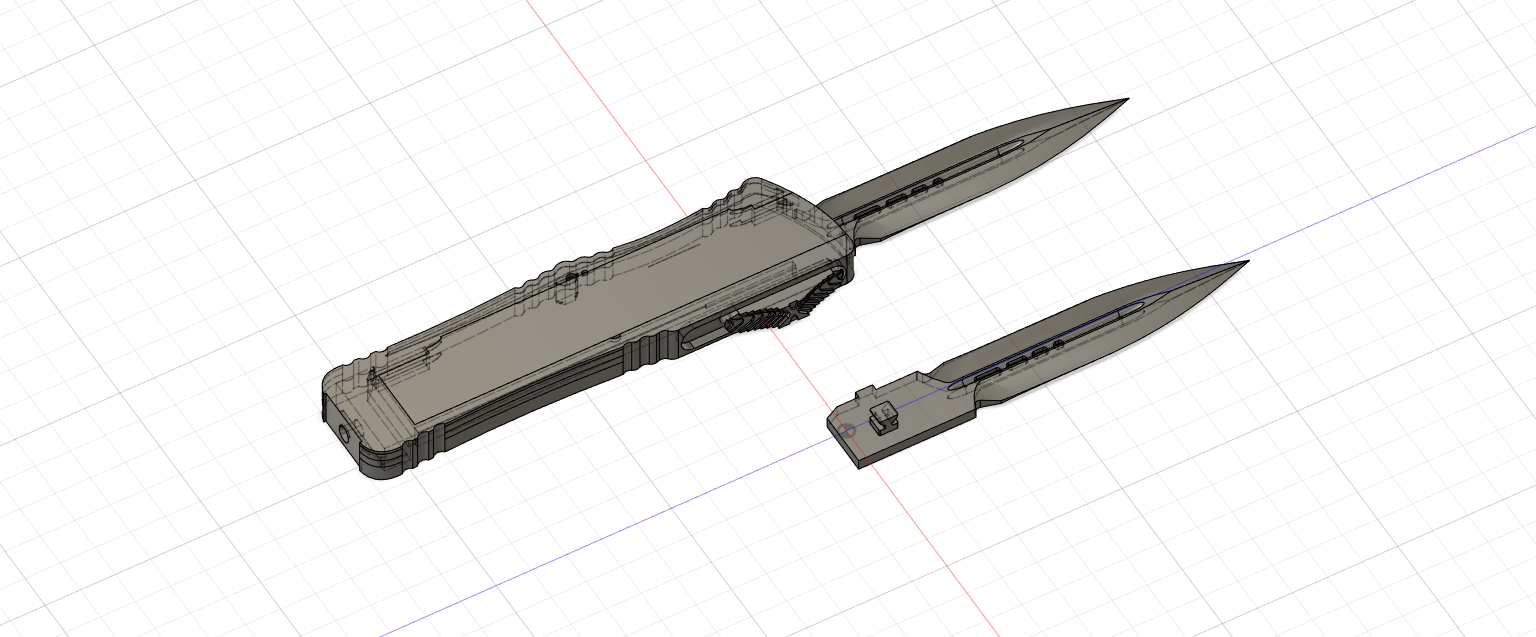
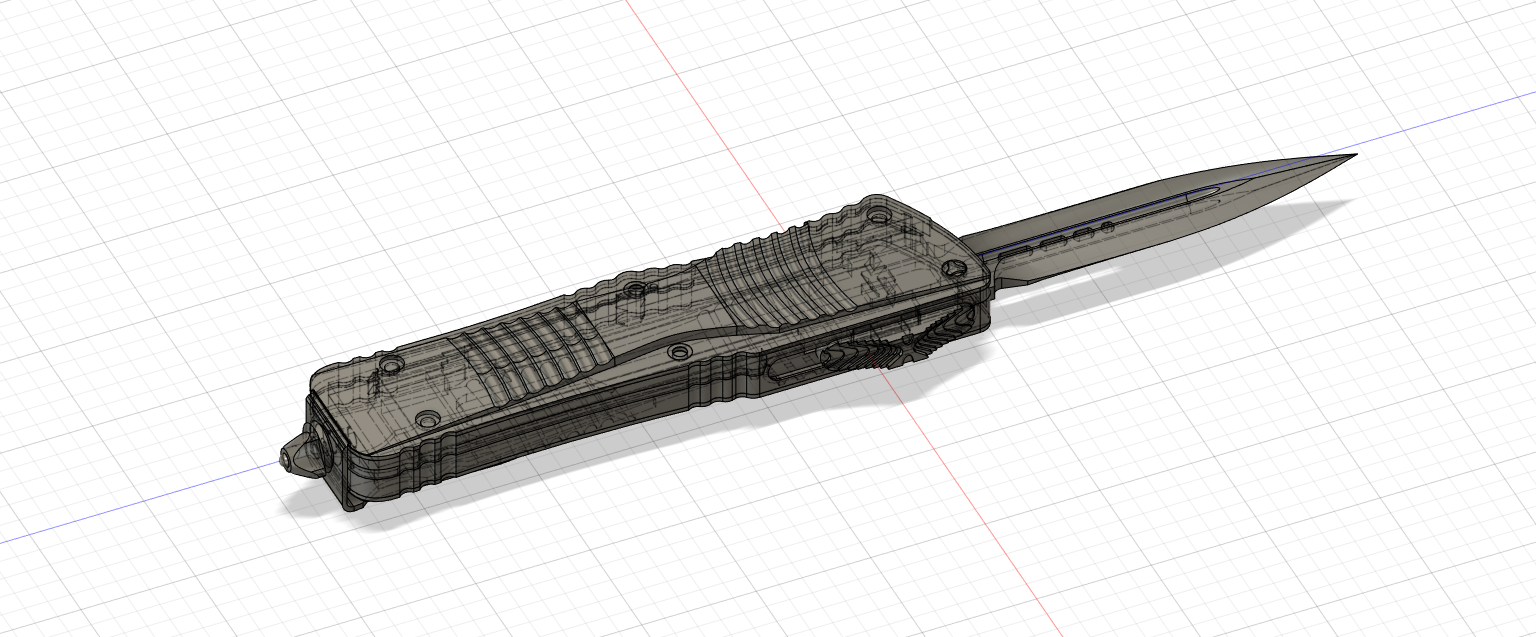
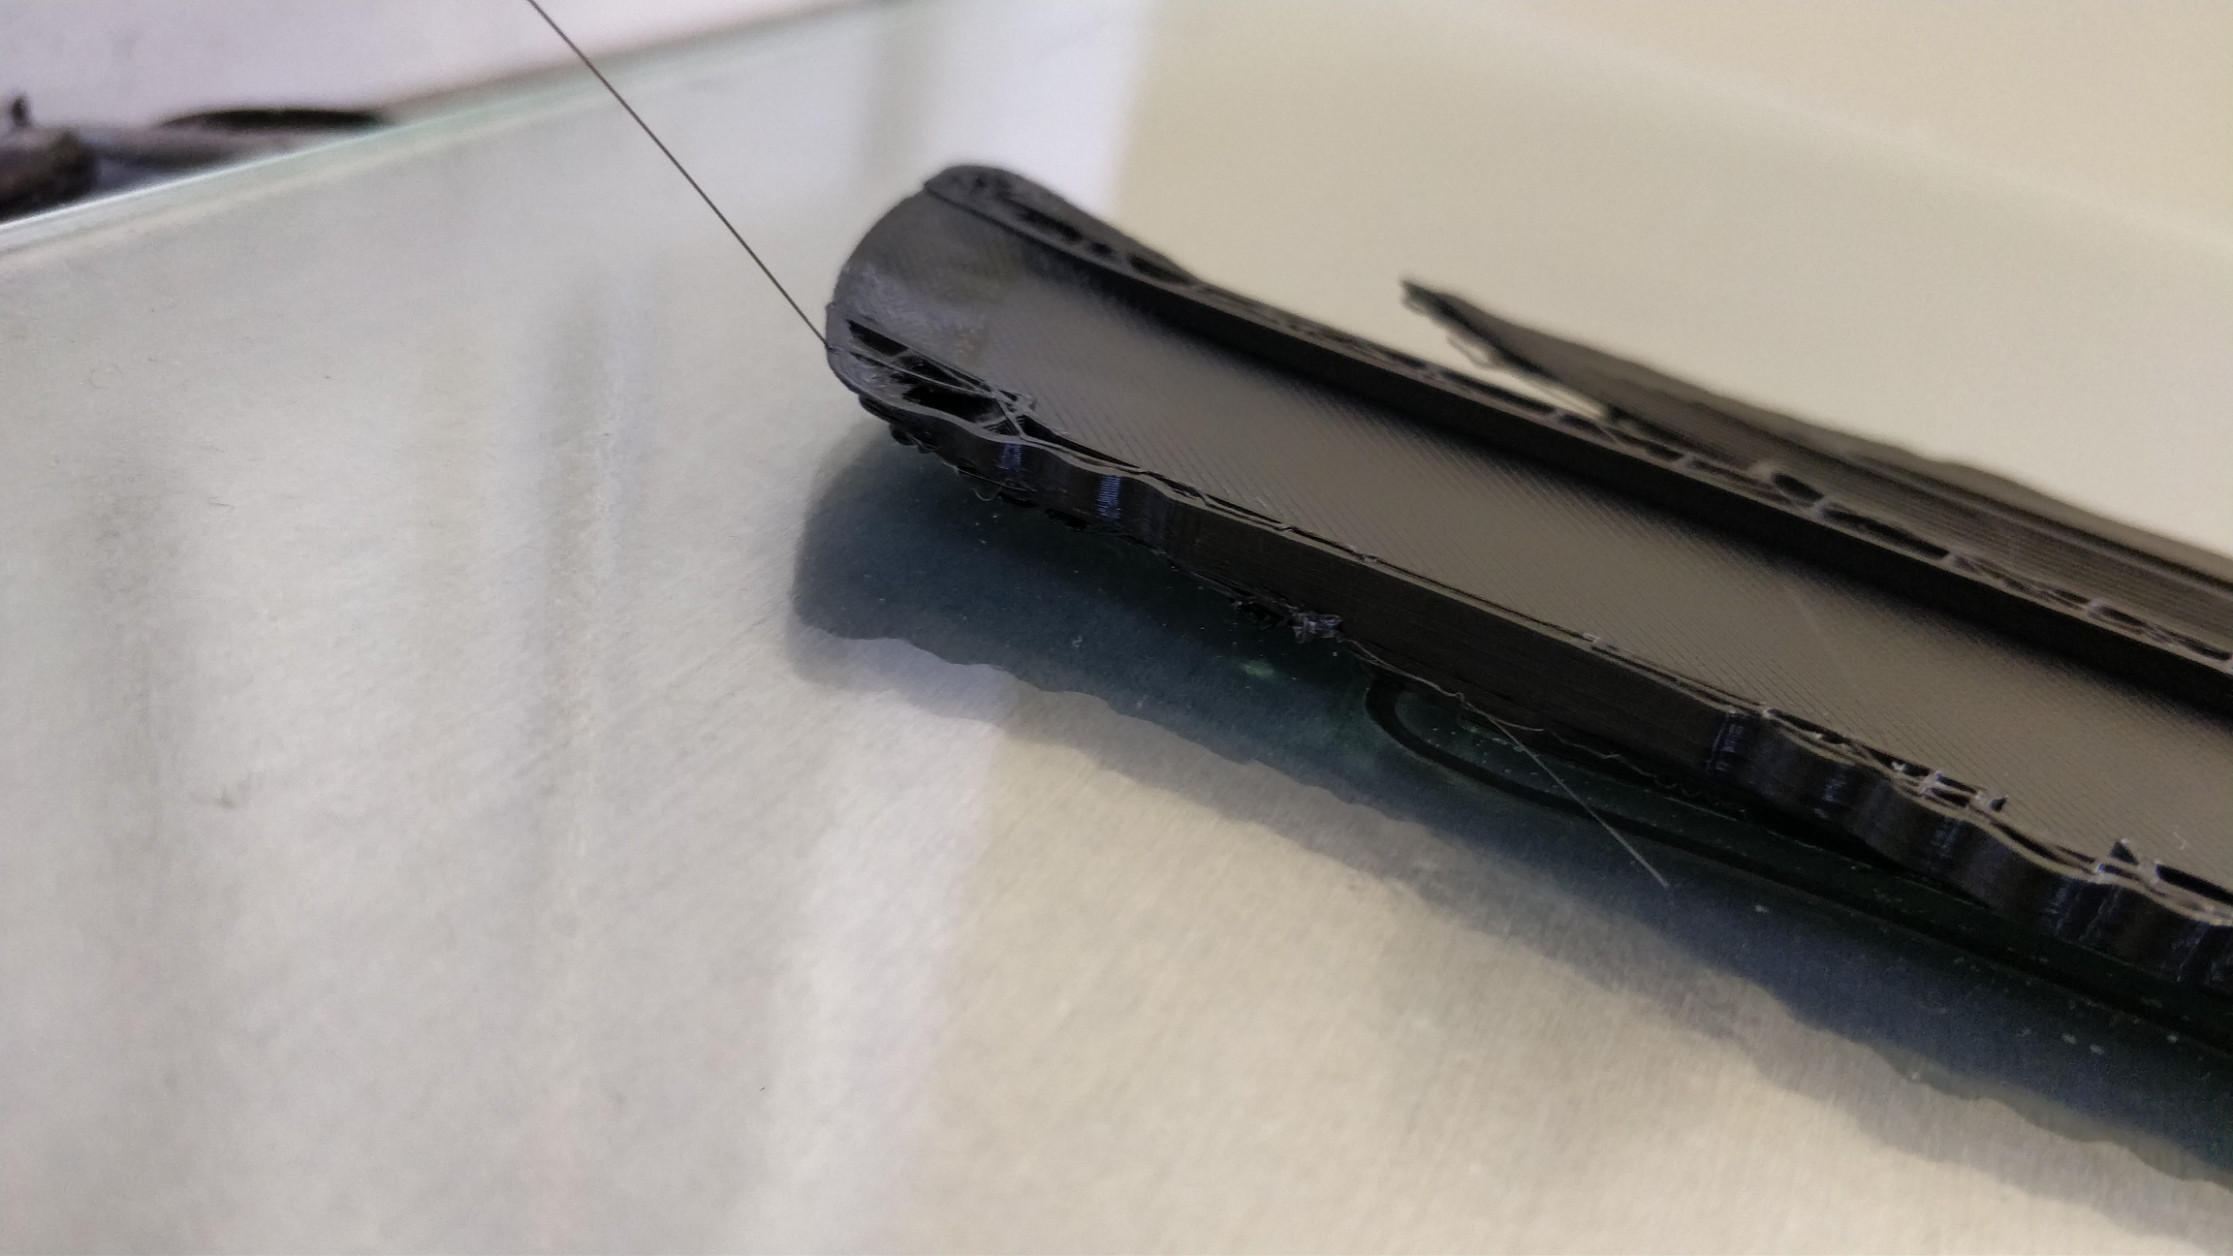
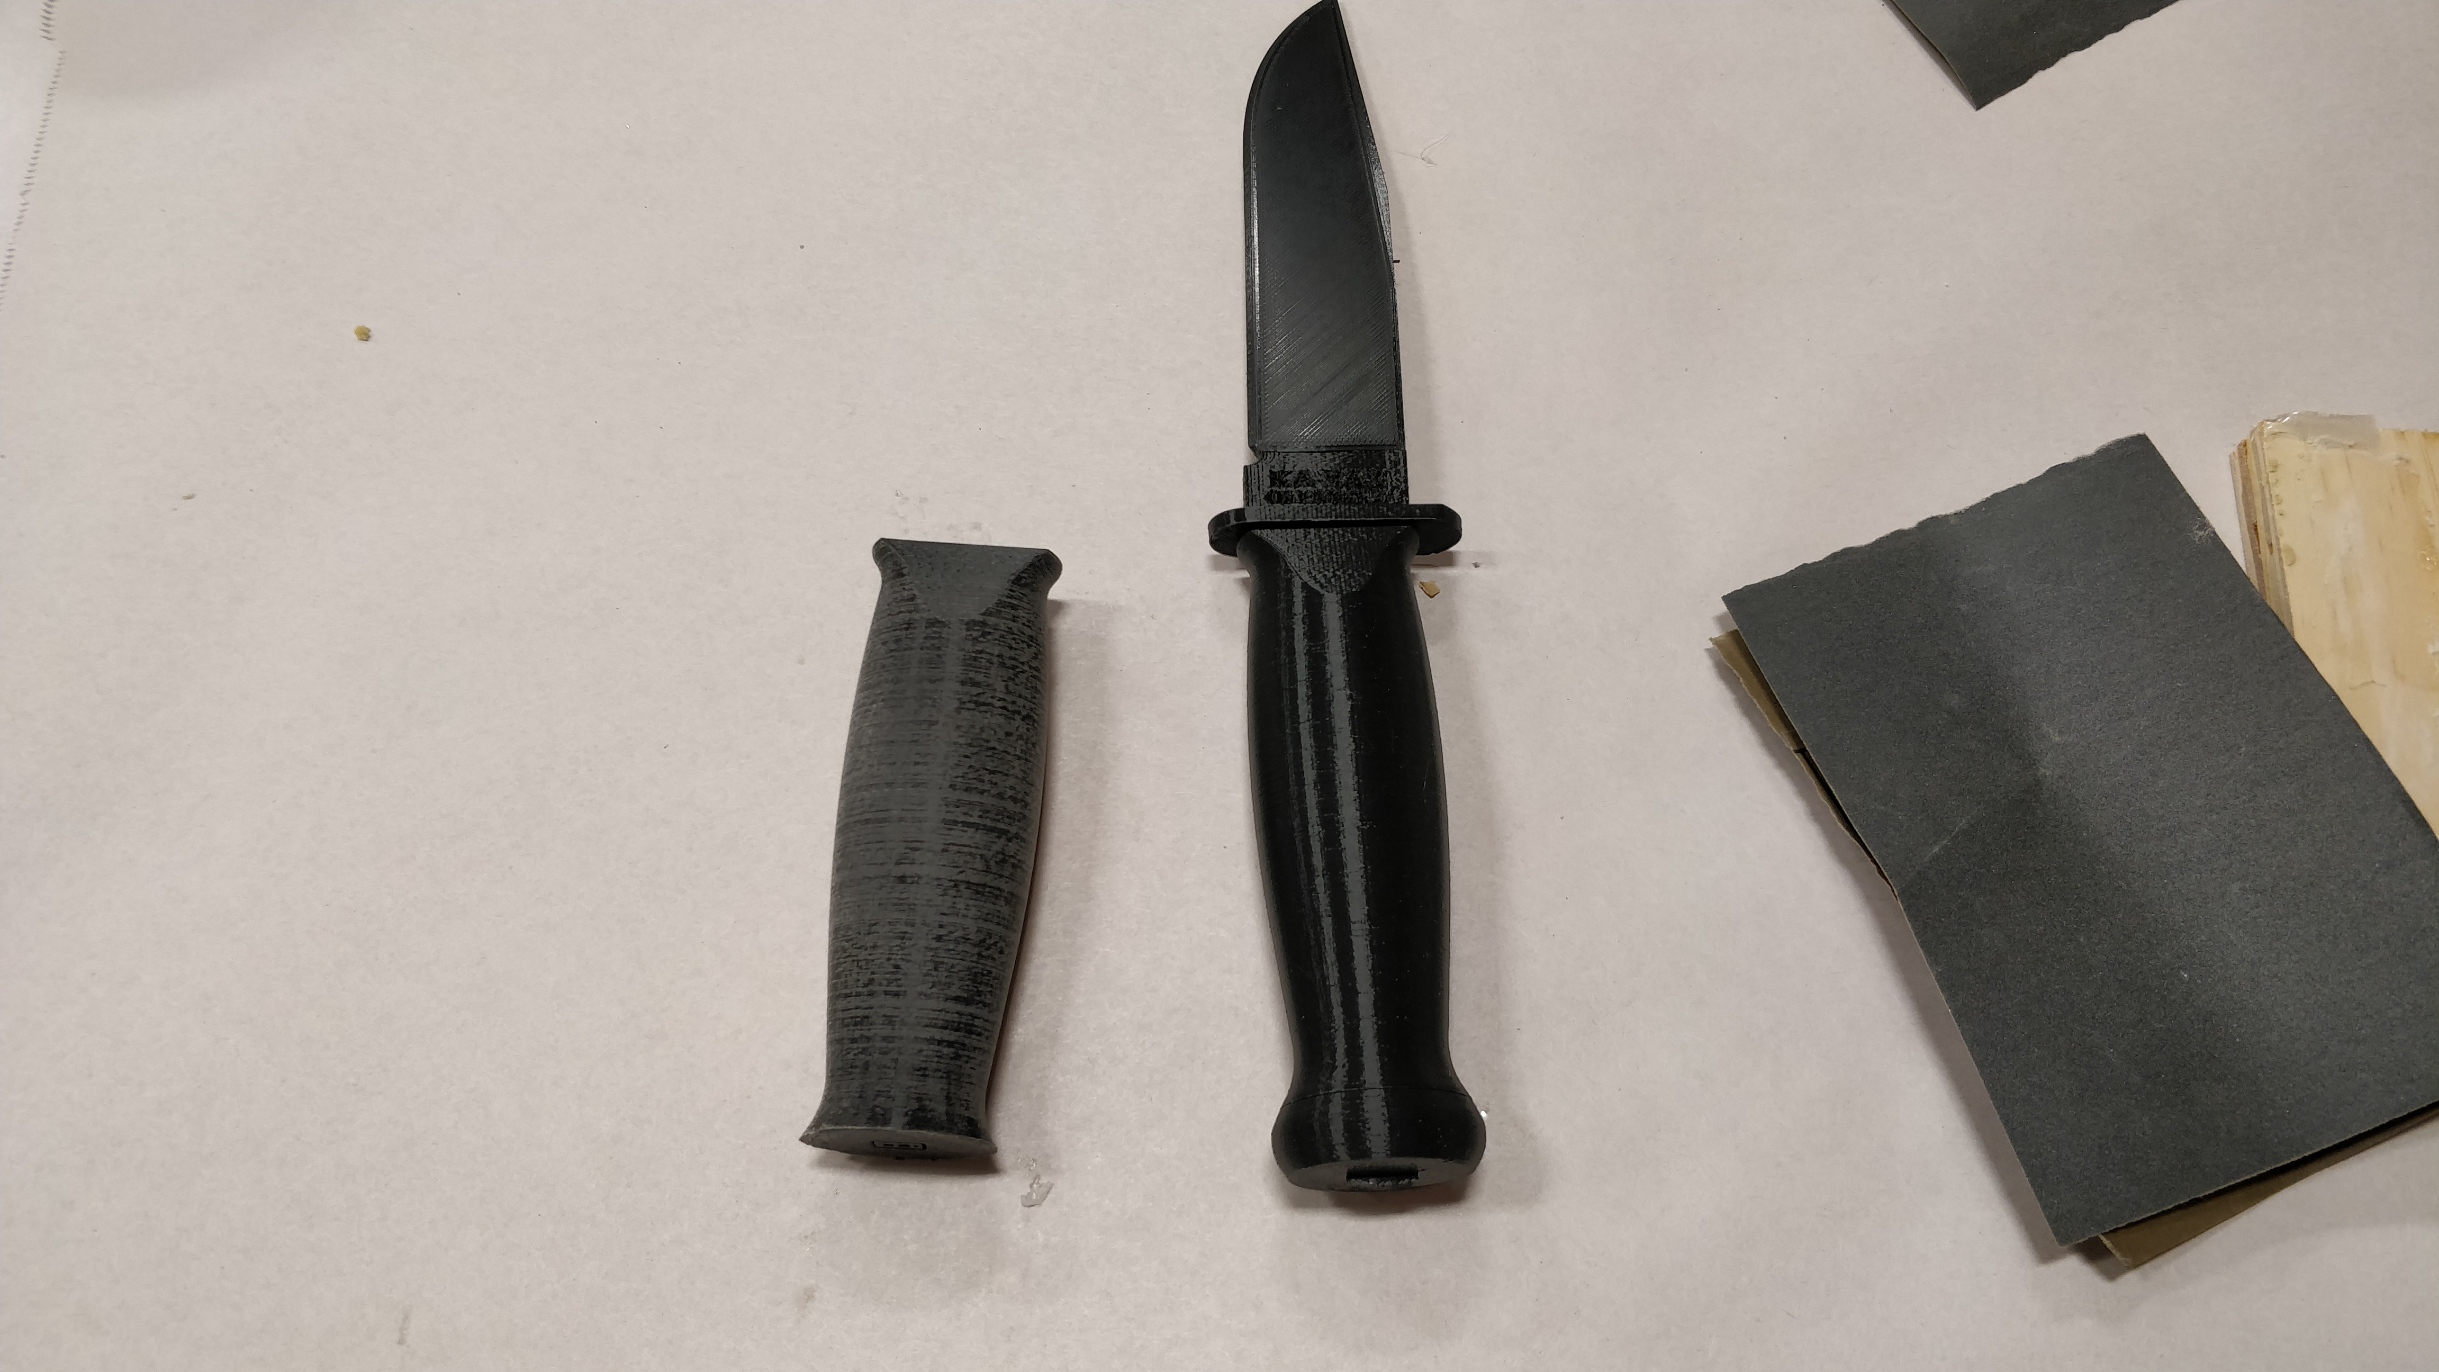
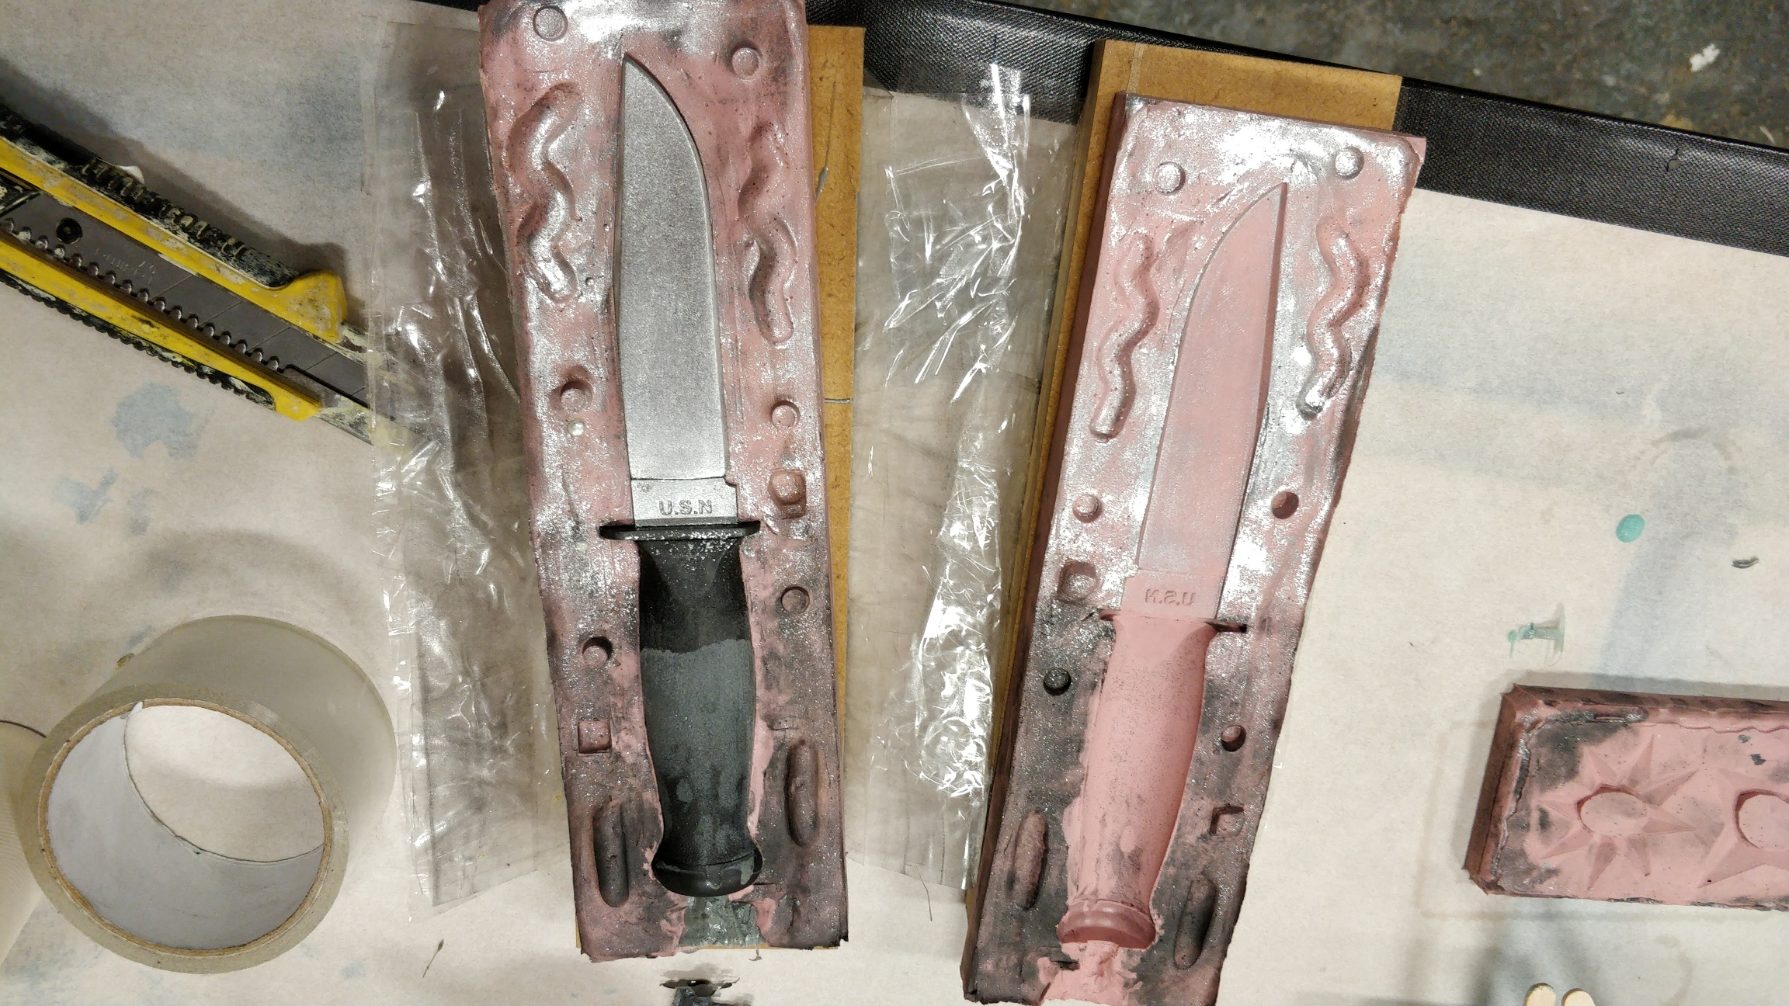
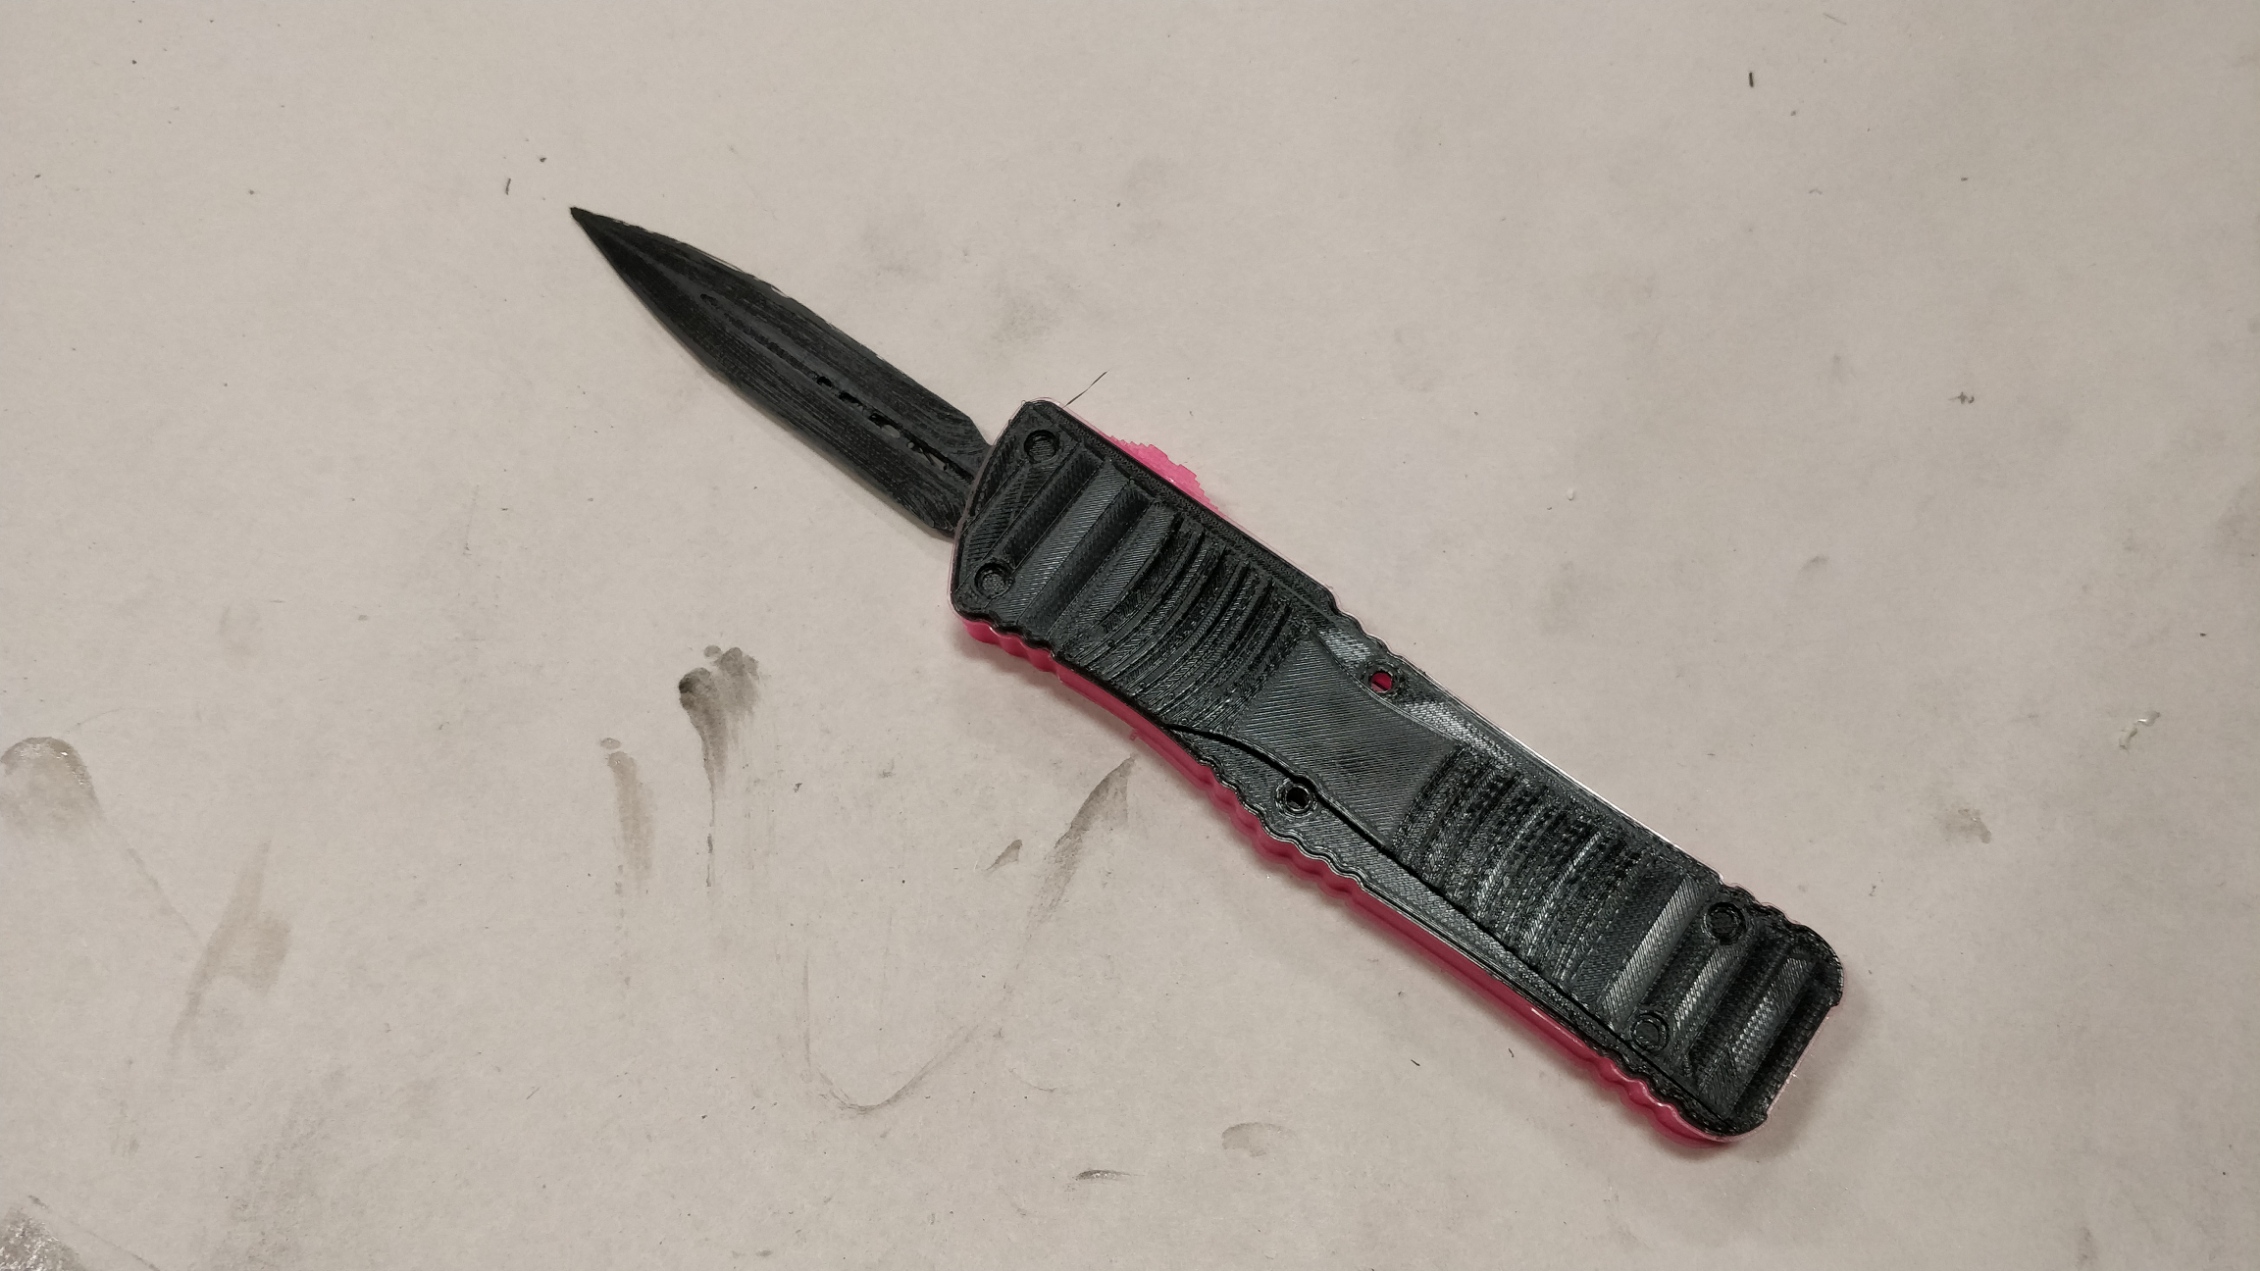
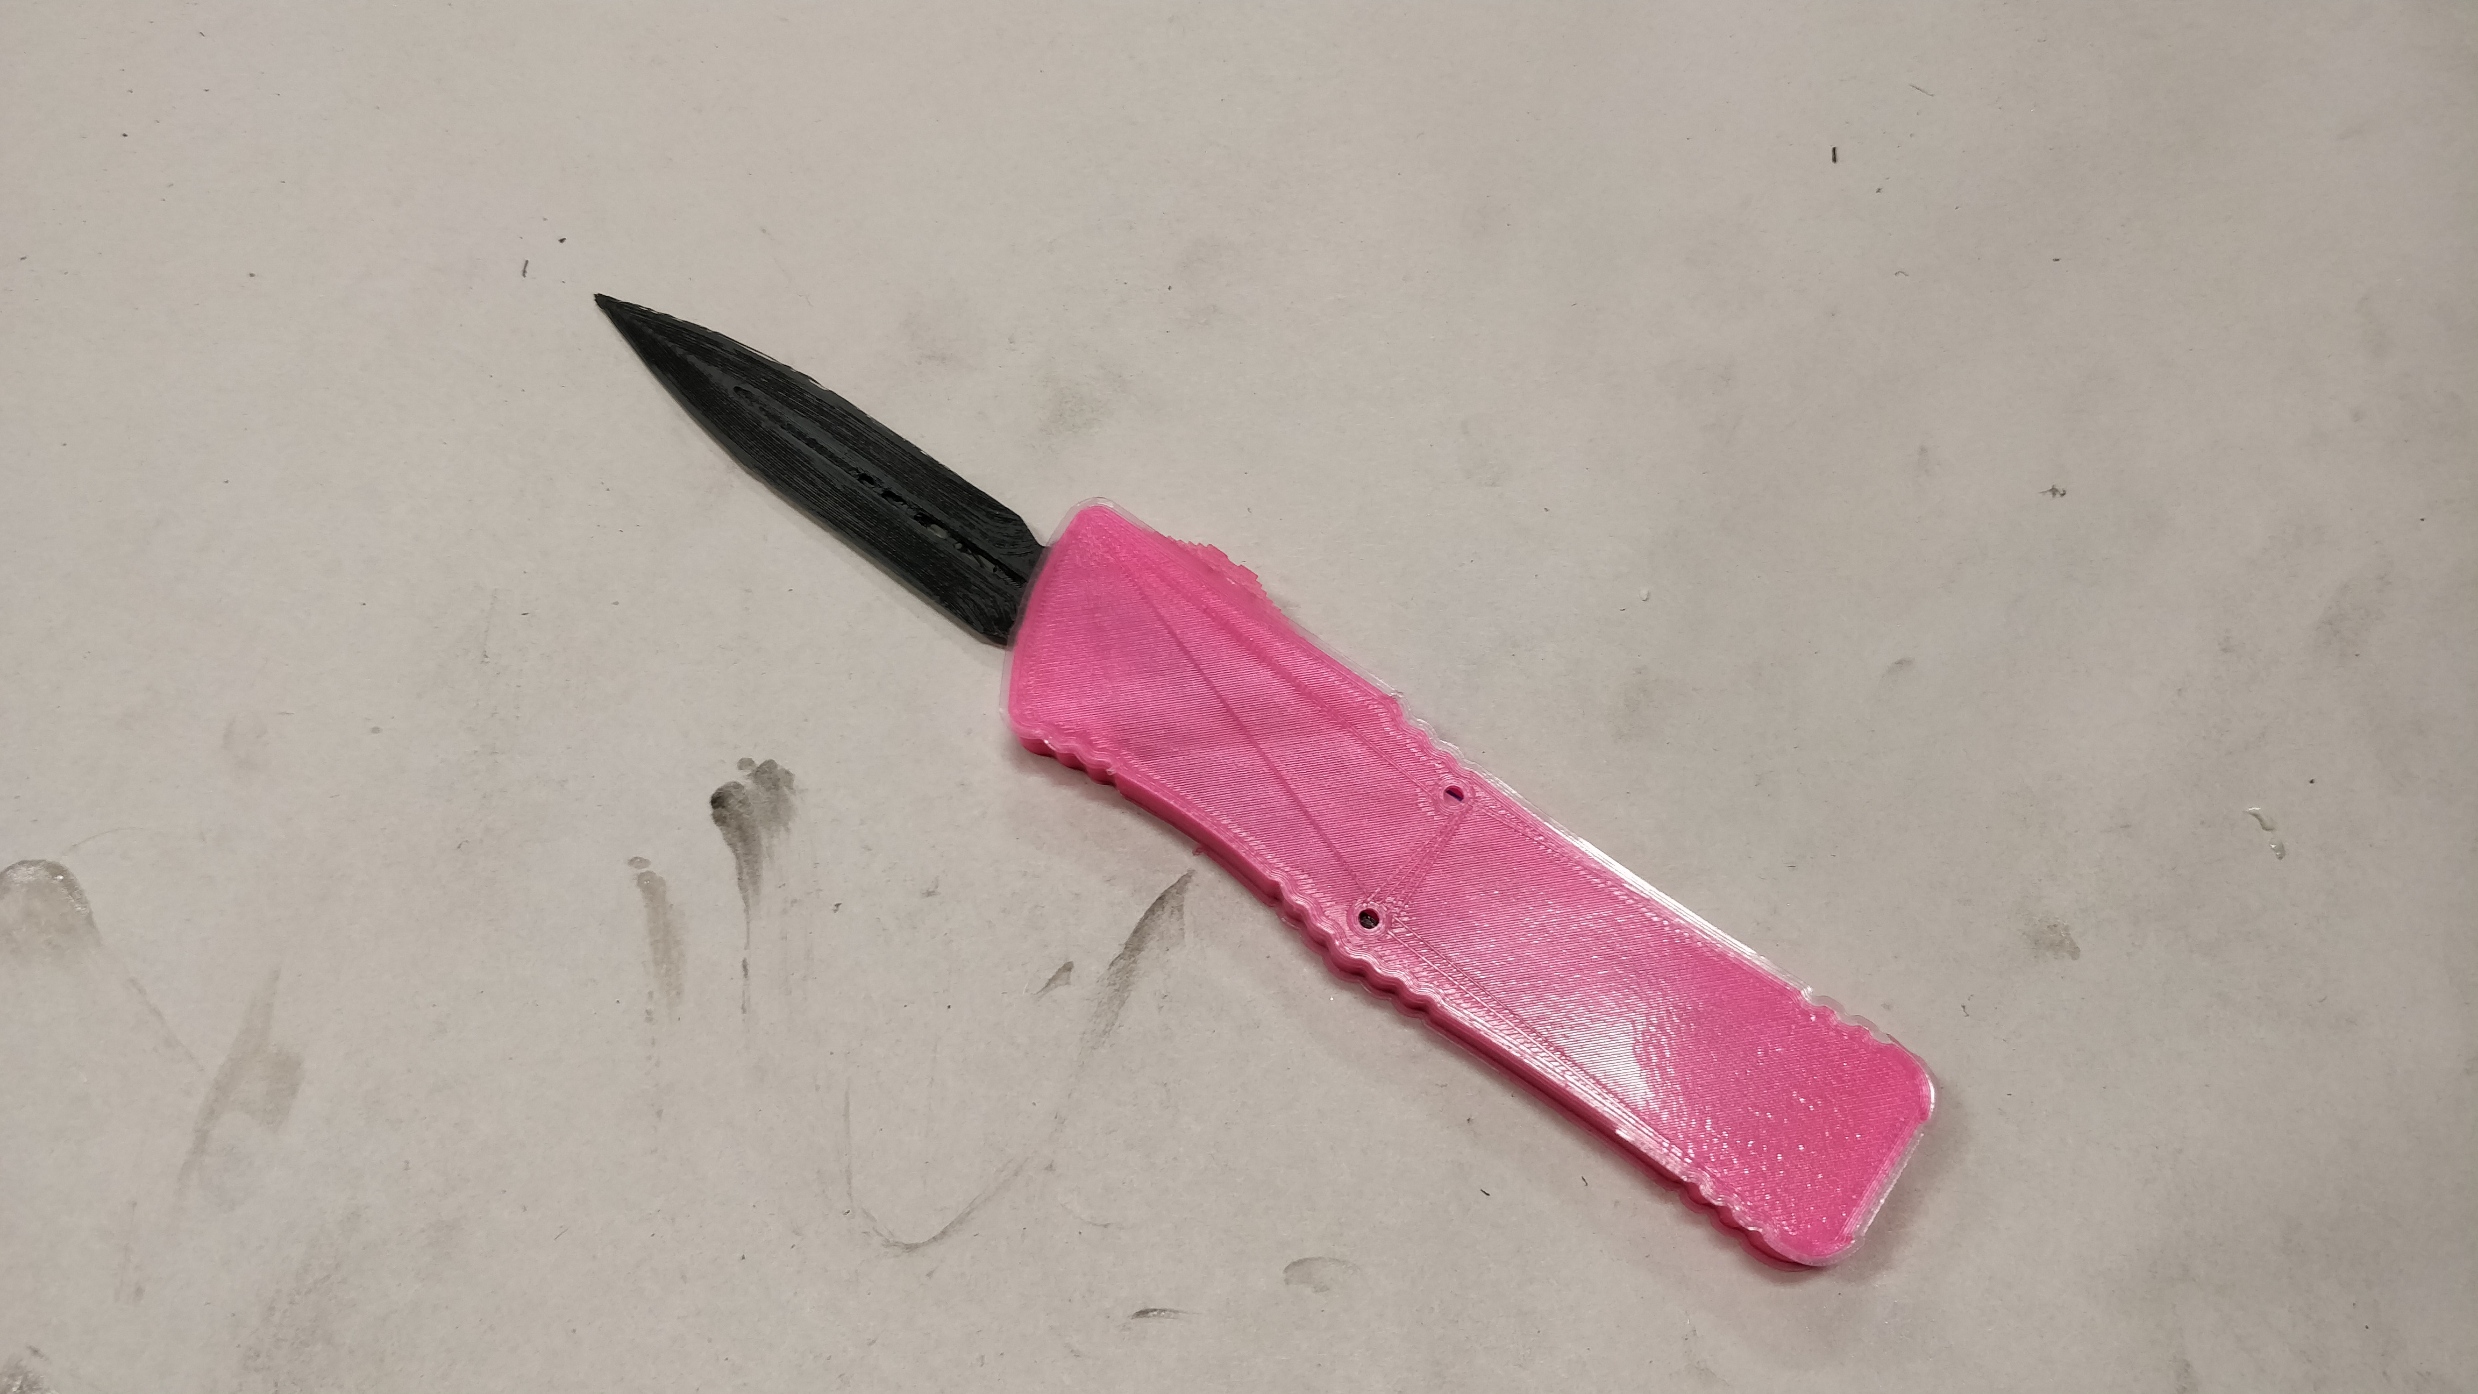
All of these I am thinking of over and over as I look to establish my own working practice that is both efficient and still in my own way of making. In the end I’m extremely happy with myself for producing two very different knives, with one of them having a functioning mechanism. This project is something I know I will call back to for a very long time in the self learned skills and the revelation in my own practice.
I really am thankful for this opportunity to learn!